Easy custom nails on a budget, no skills required!
Disclaimer: I do the research, so you don’t have to. This post may include affiliate links, which I may receive earnings for qualifying purchases at no cost to you. Read more
Hey Gorgeous,
Do you want beautiful and easy nails at home on a budget? Do you want the intricate nail art without the skills or the bottomless money pit to the salon? Do you want nails that are easy to switch without damaging your nails? Read on.
In this post, we will create a super easy yet beautiful acrylic press-on that will look and feel like you went to the salon, yet quick and without any skills required!
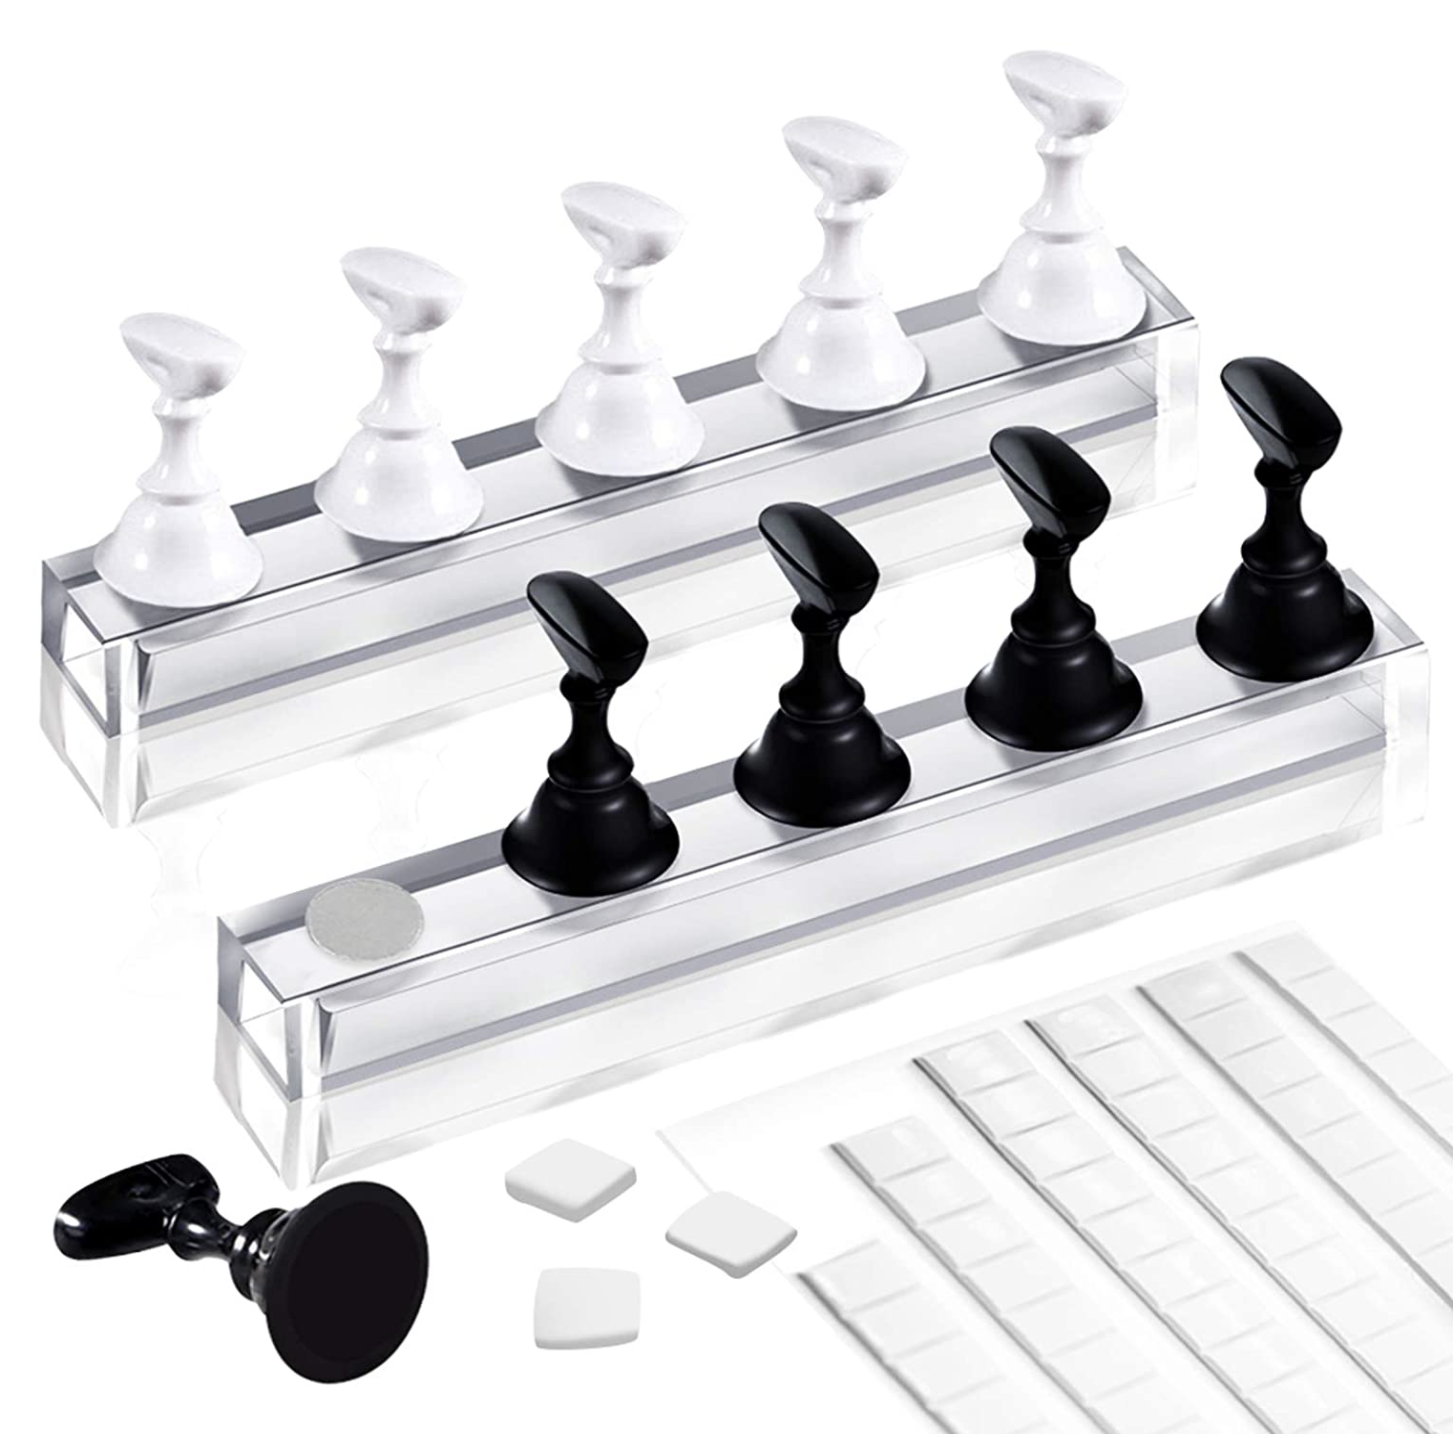
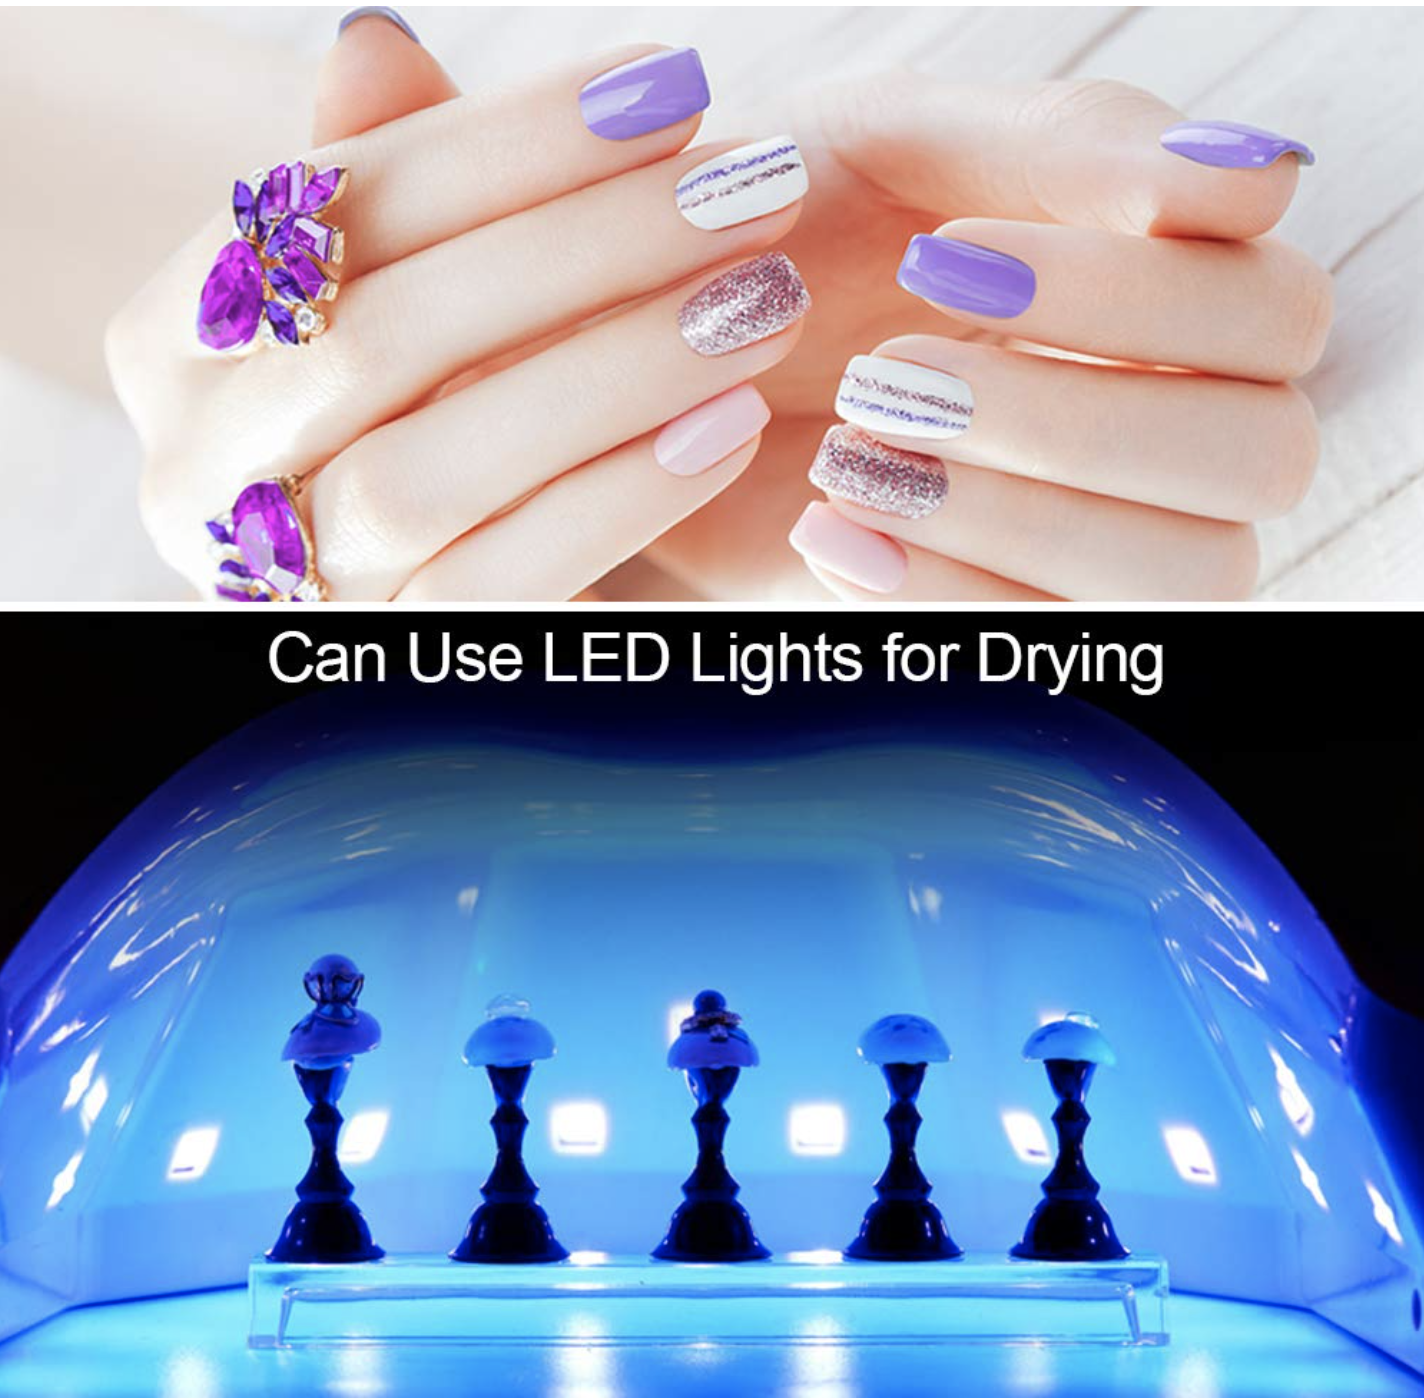
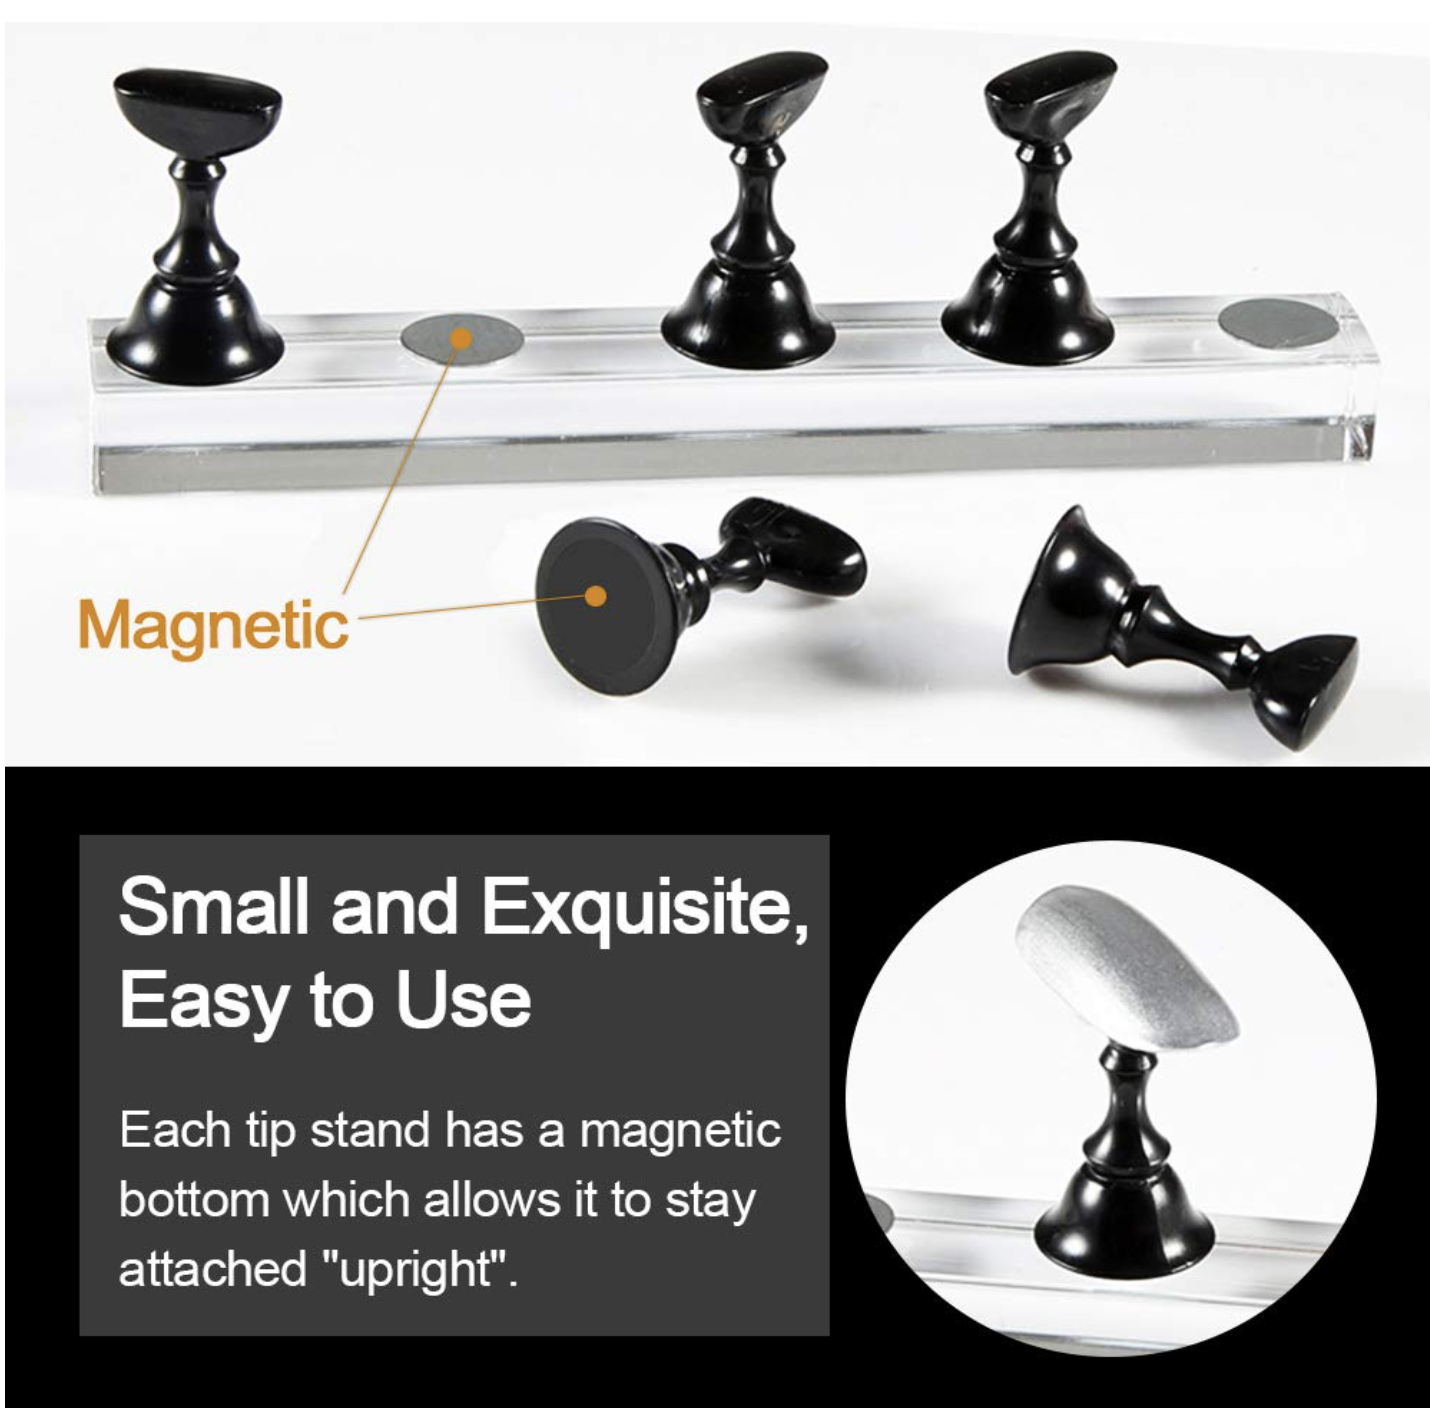
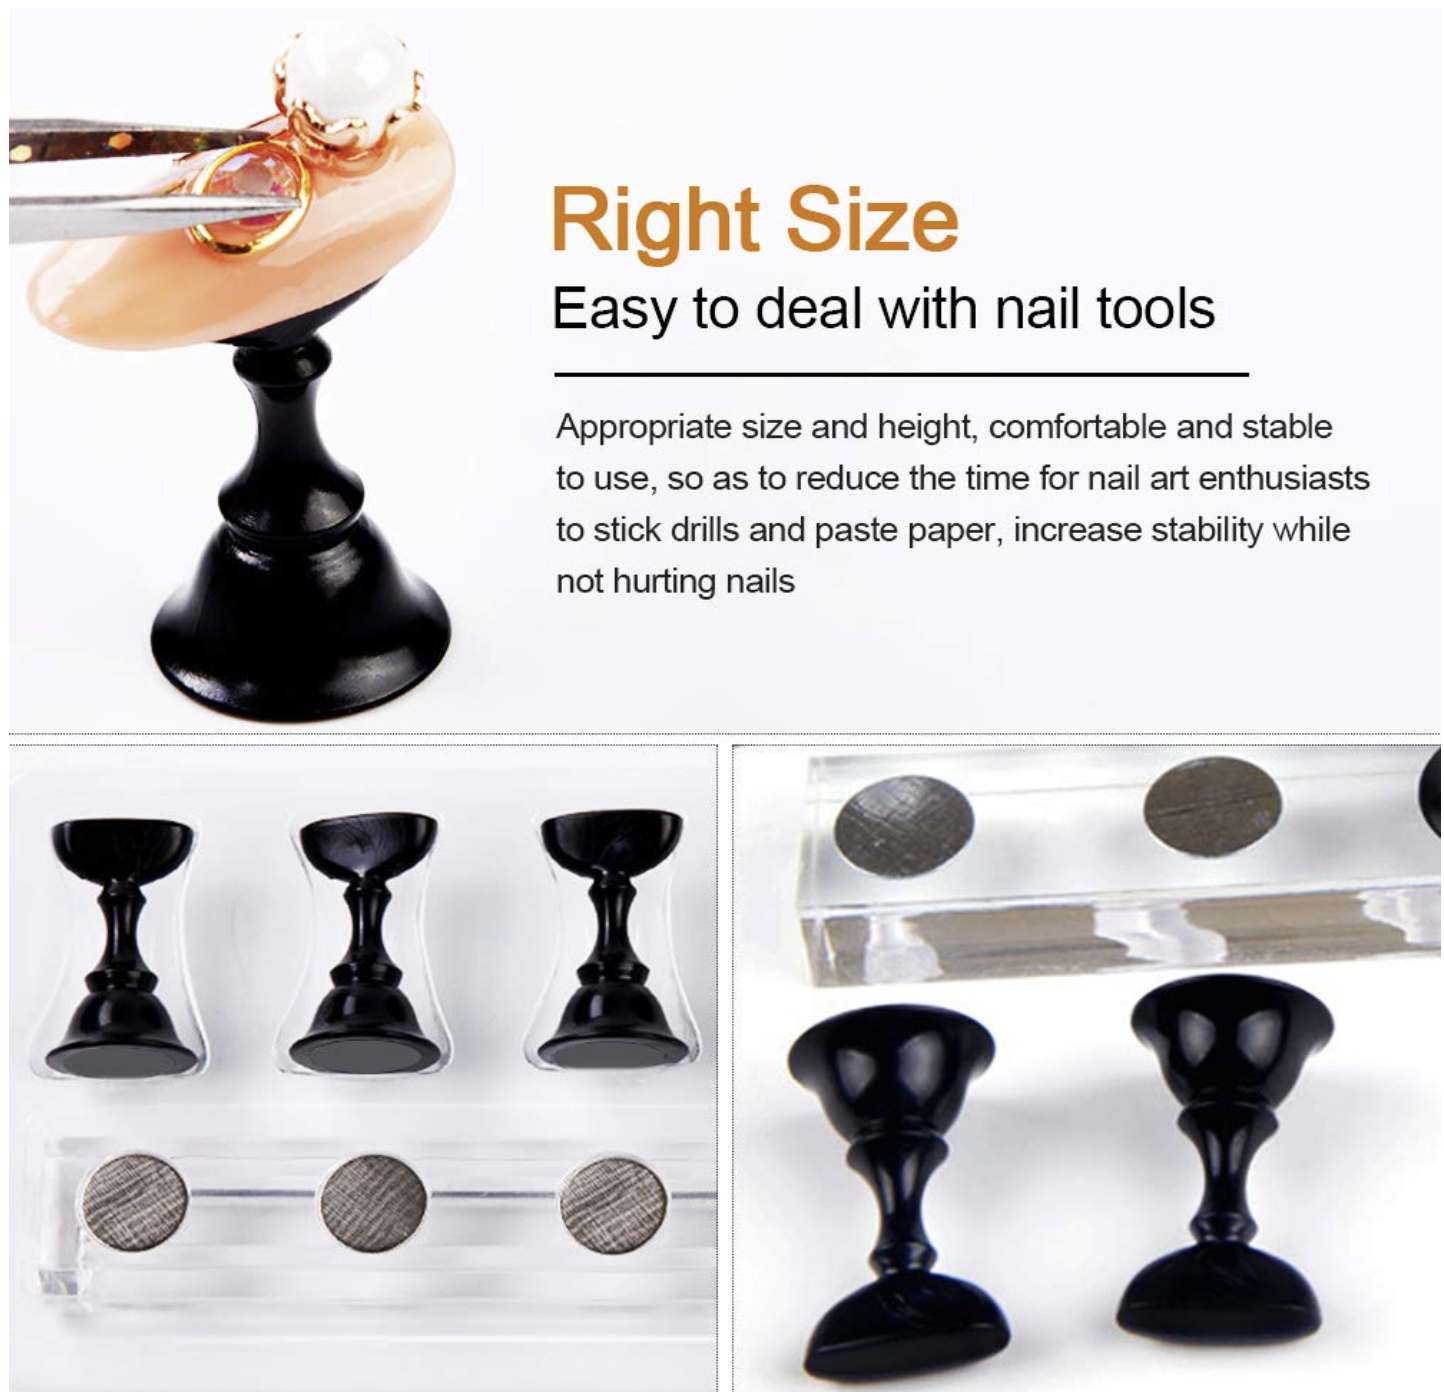
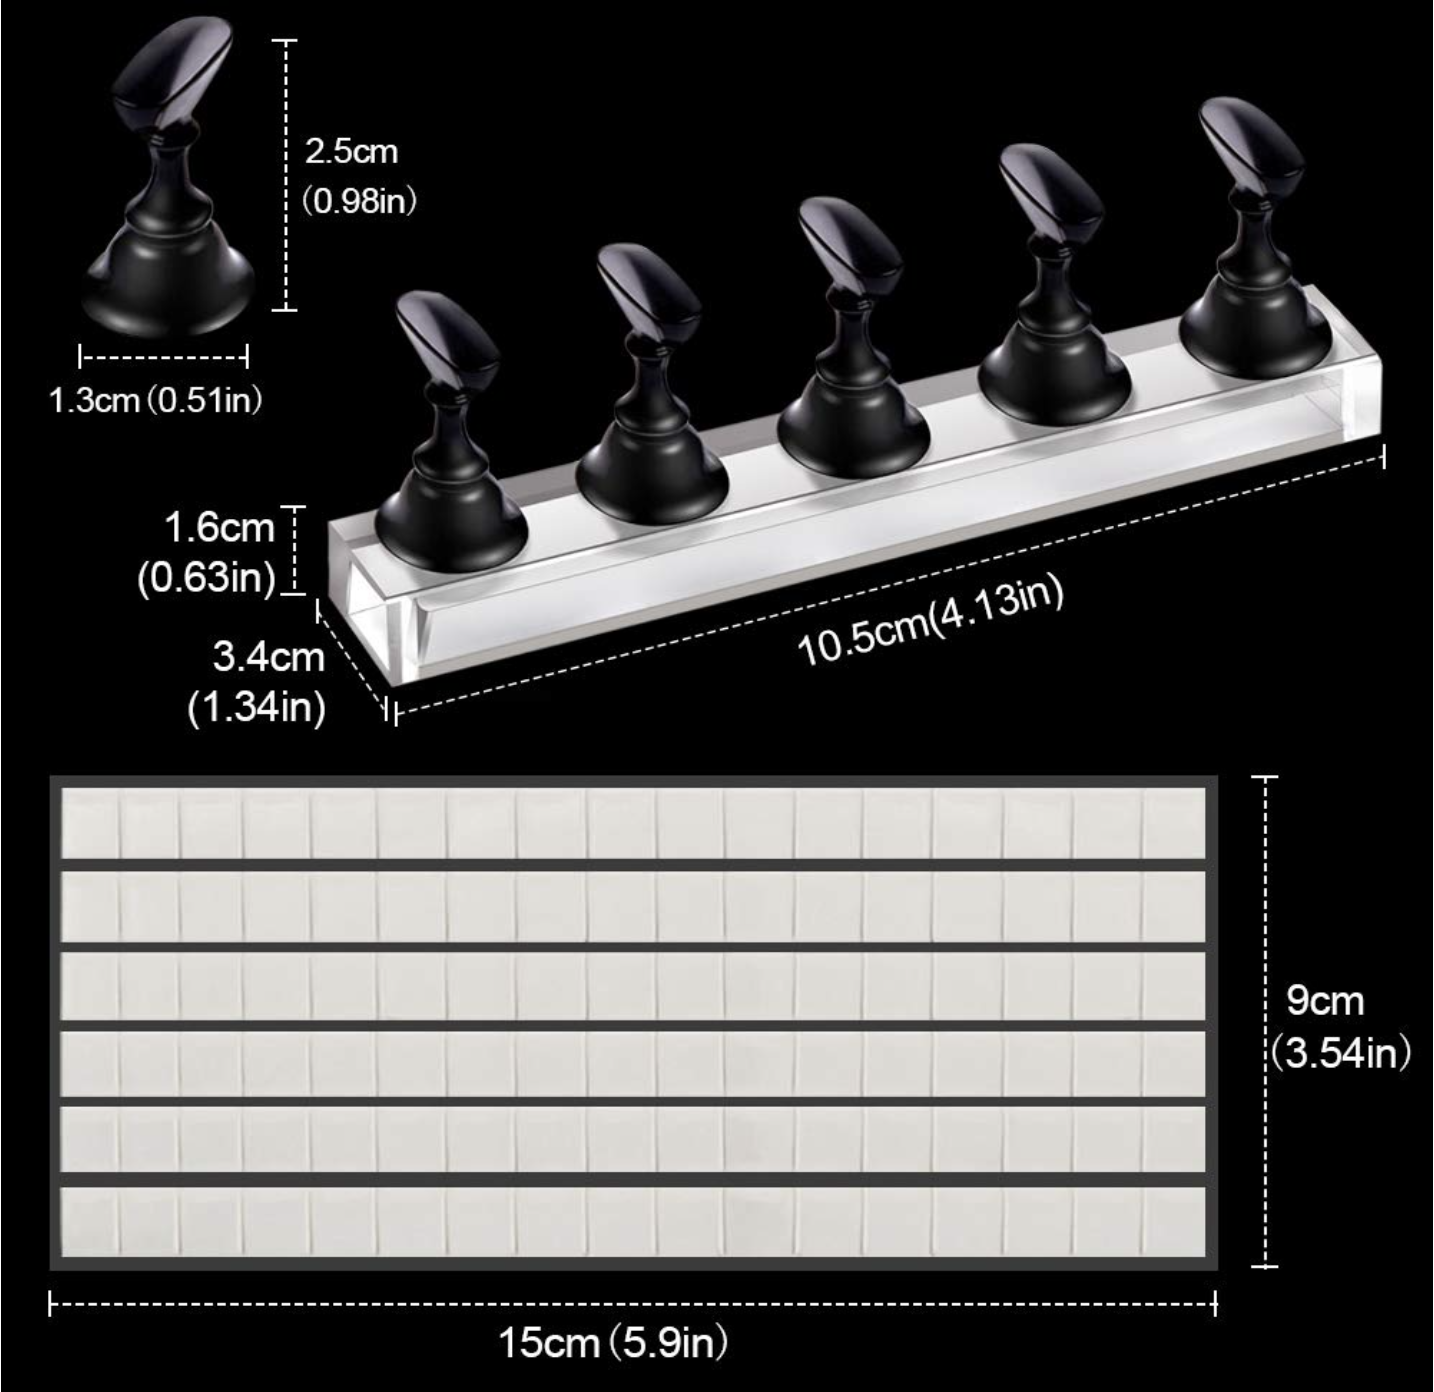
Mess-Free Nail Stand
The first thing you need is a nail stand tool; this is super helpful to allow you the freedom to paint both of your nails with your dominant hand, making it a lot easier and faster to paint than trying to paint nails on your hand! Super time-saving as there will be no “overprinting” to clean up!
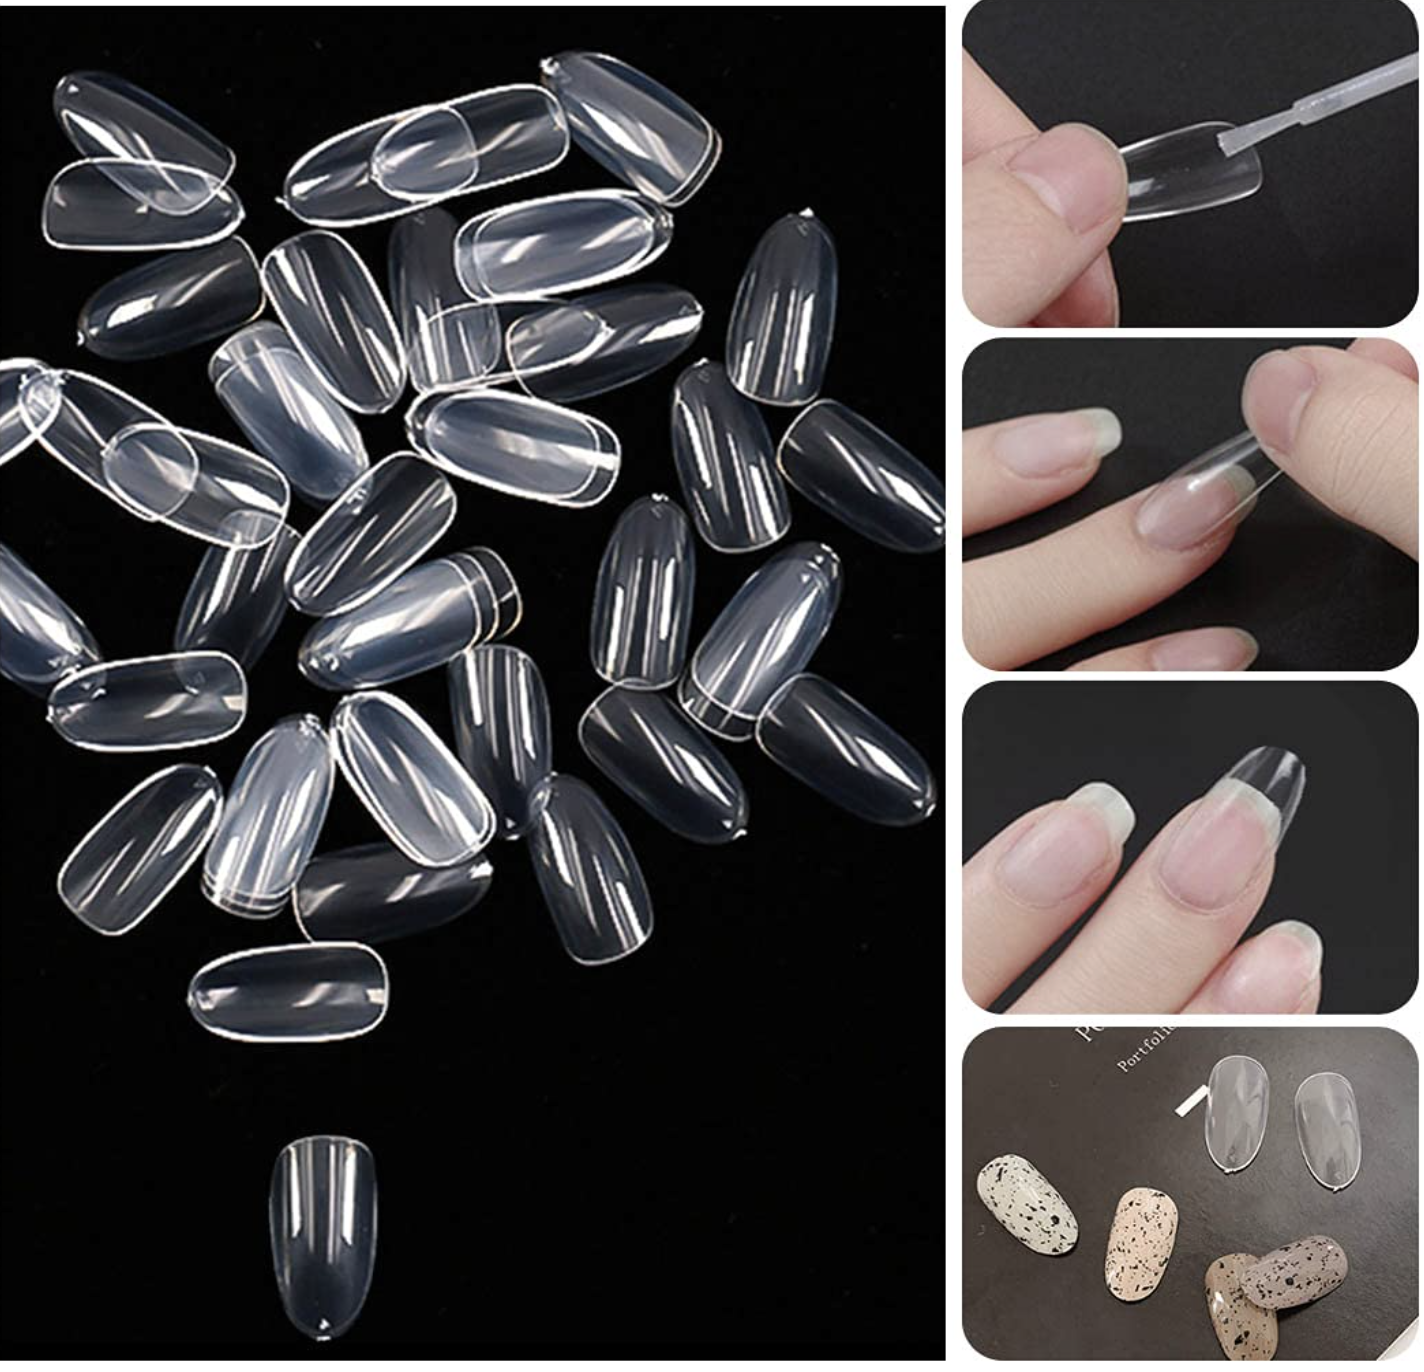
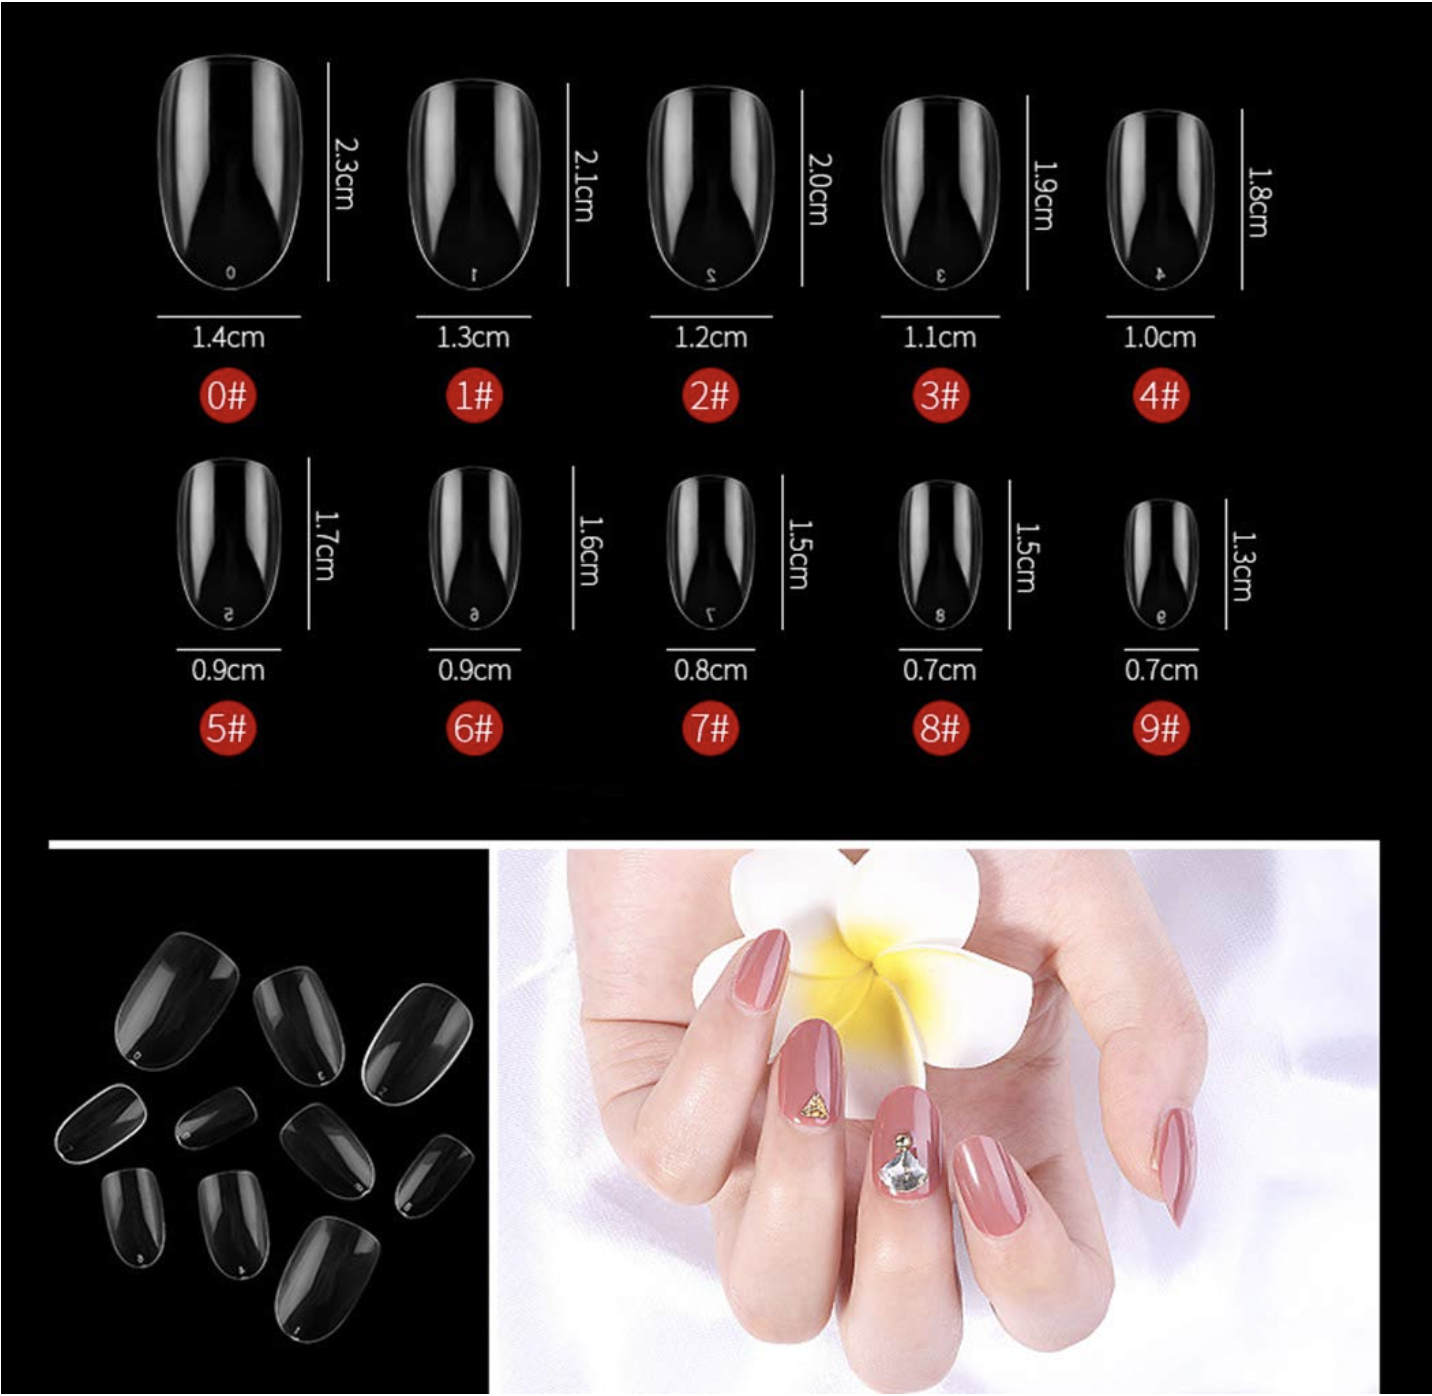
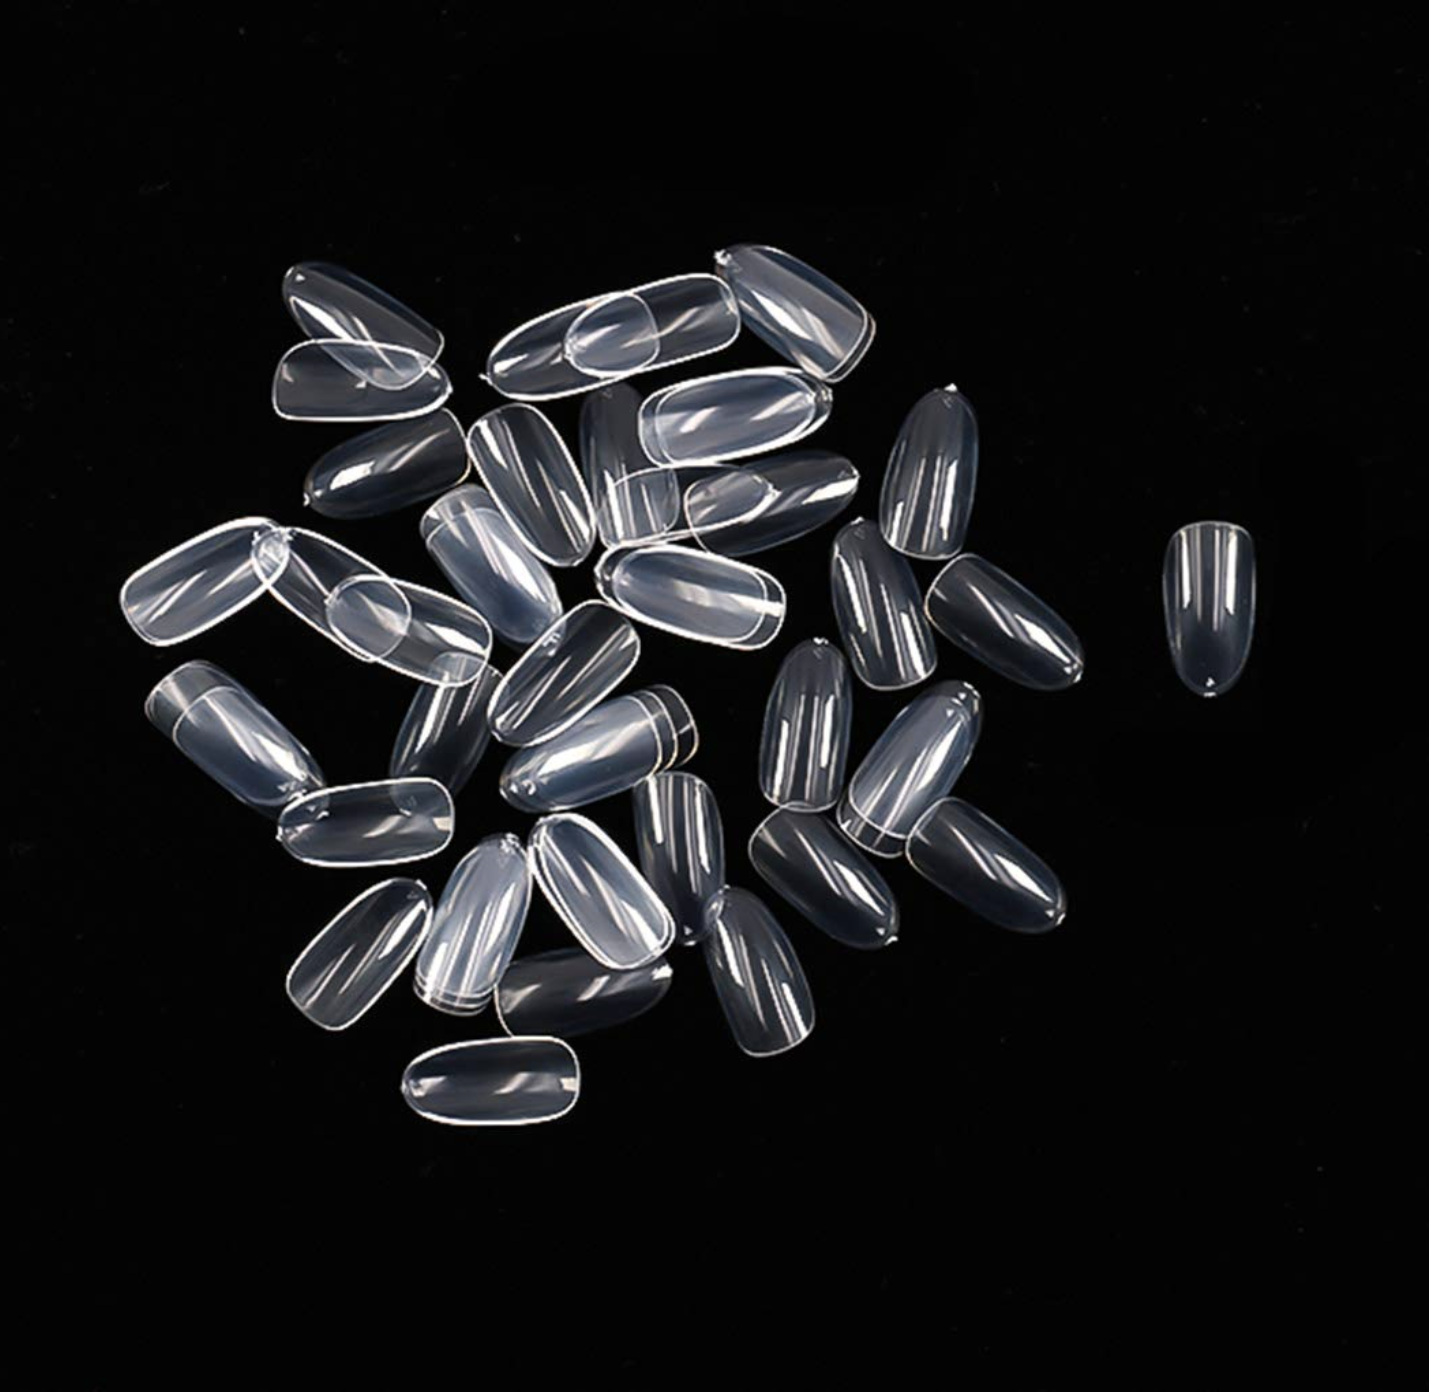
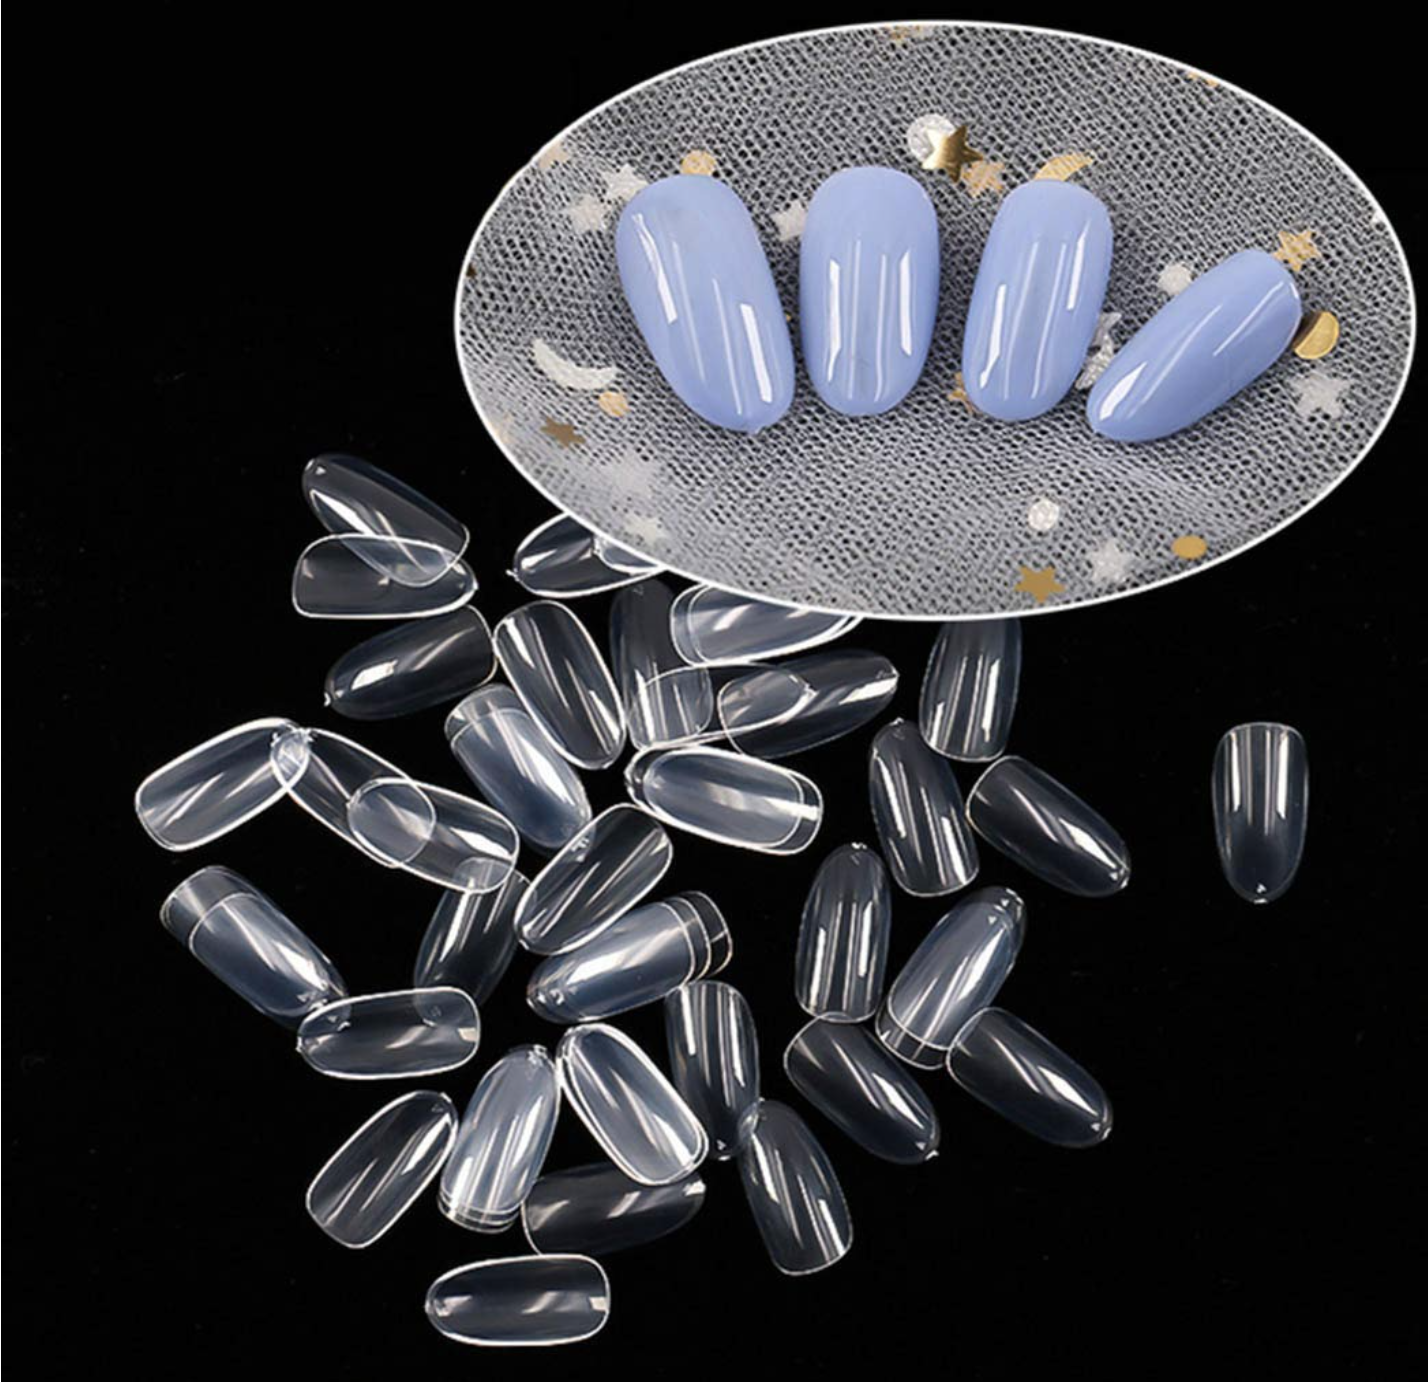
Acrylic Nail Tips
Next are the nail tips; choose a set that closely fits your desired nail length. I like the shorter almond nails, as they are beautiful, help elongate your fingers, and are still short enough, so you are capable of doing most activities.
You can make additional customization by filing the nails as you would with regular nails.
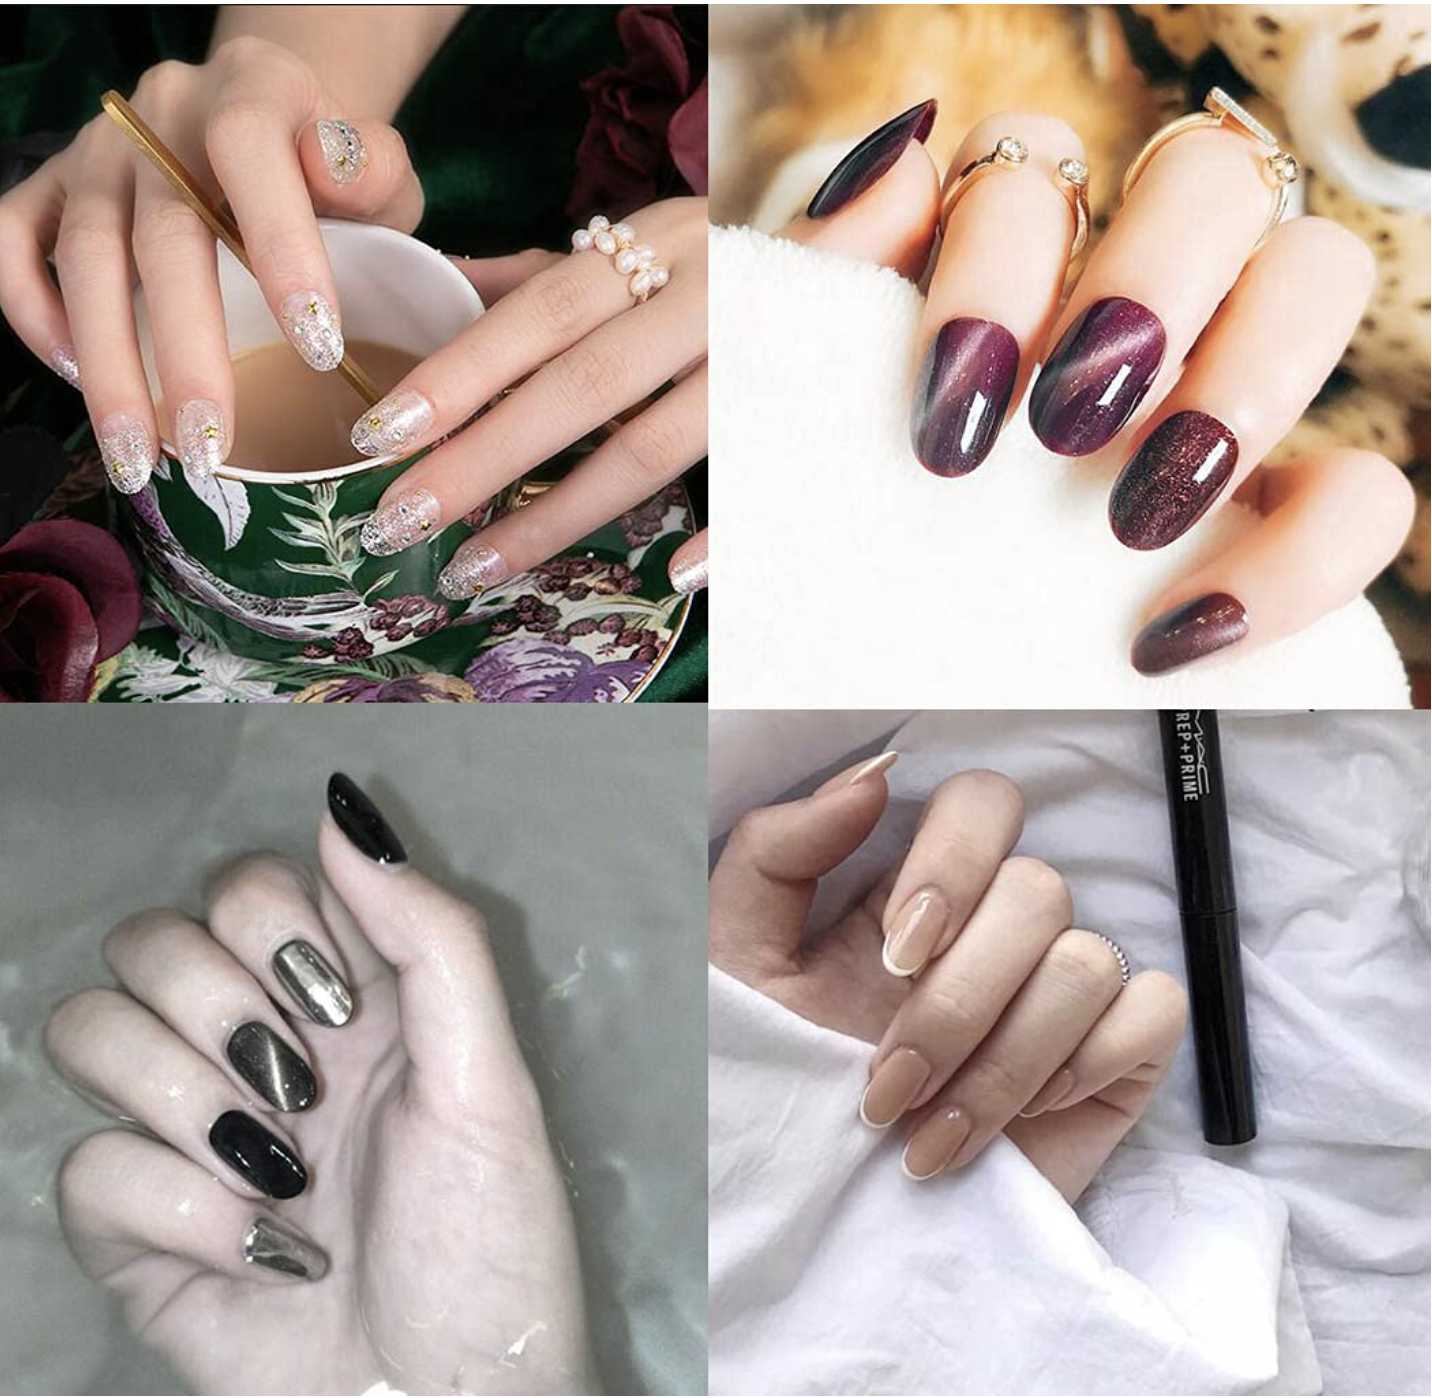
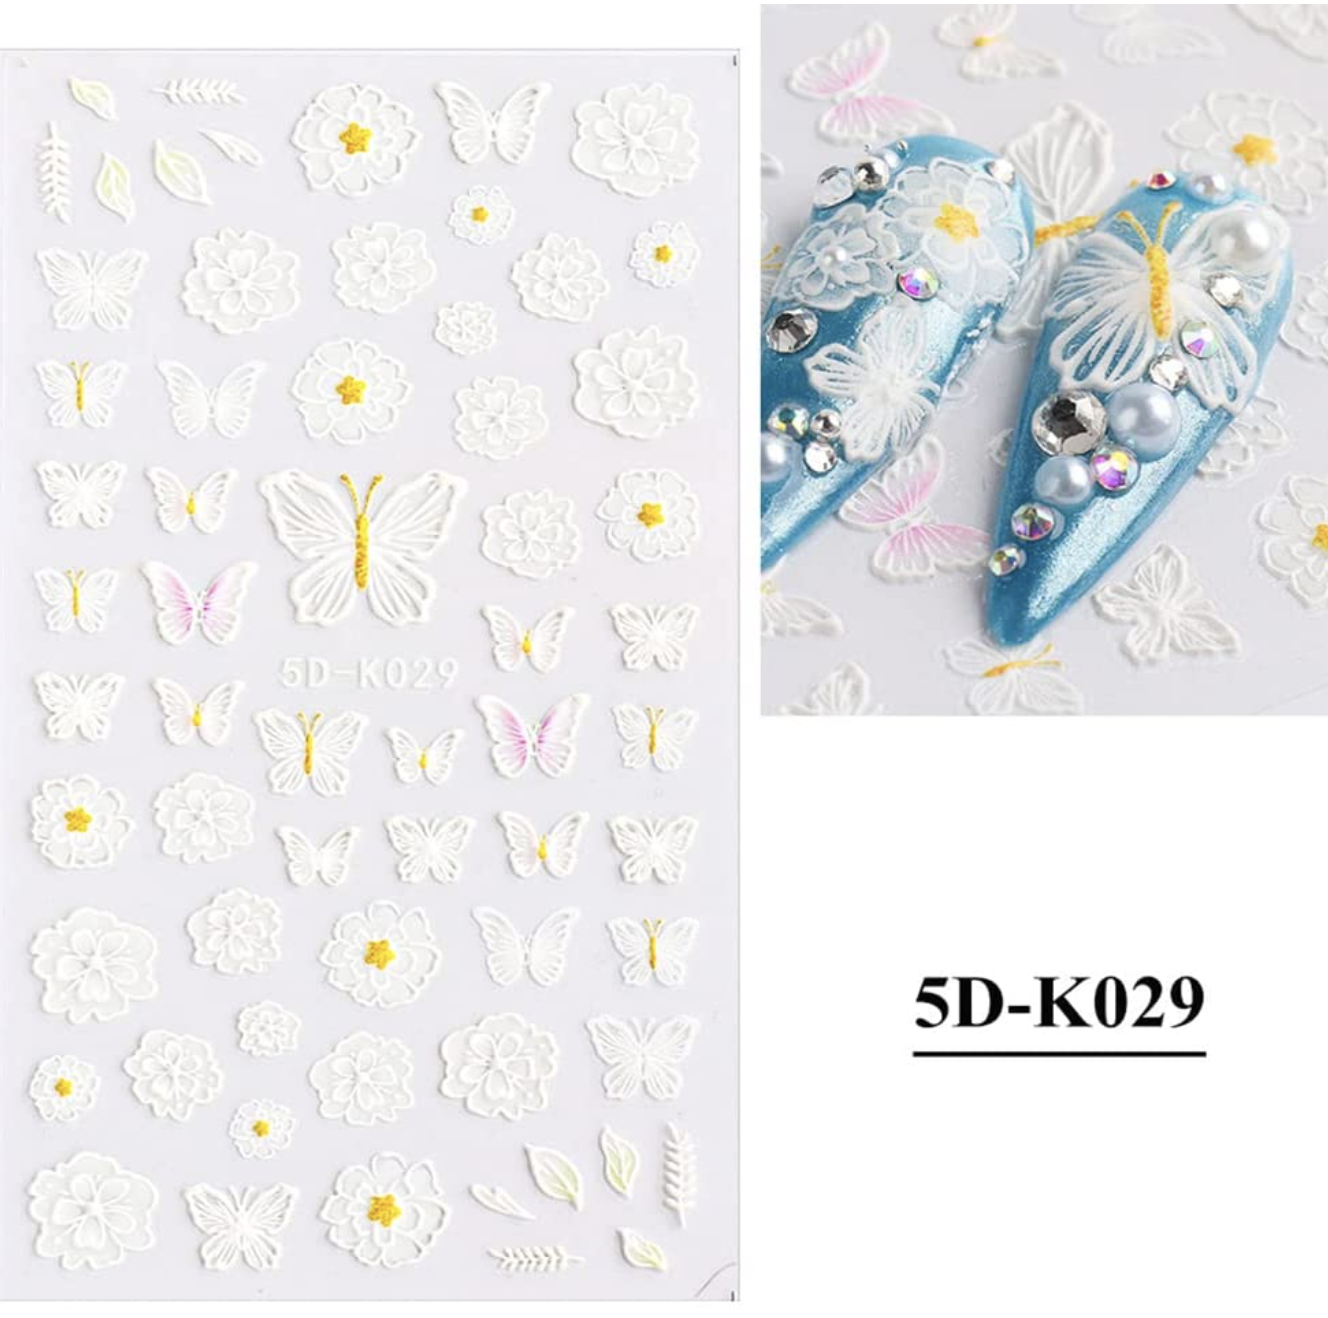
Custom Nail Design
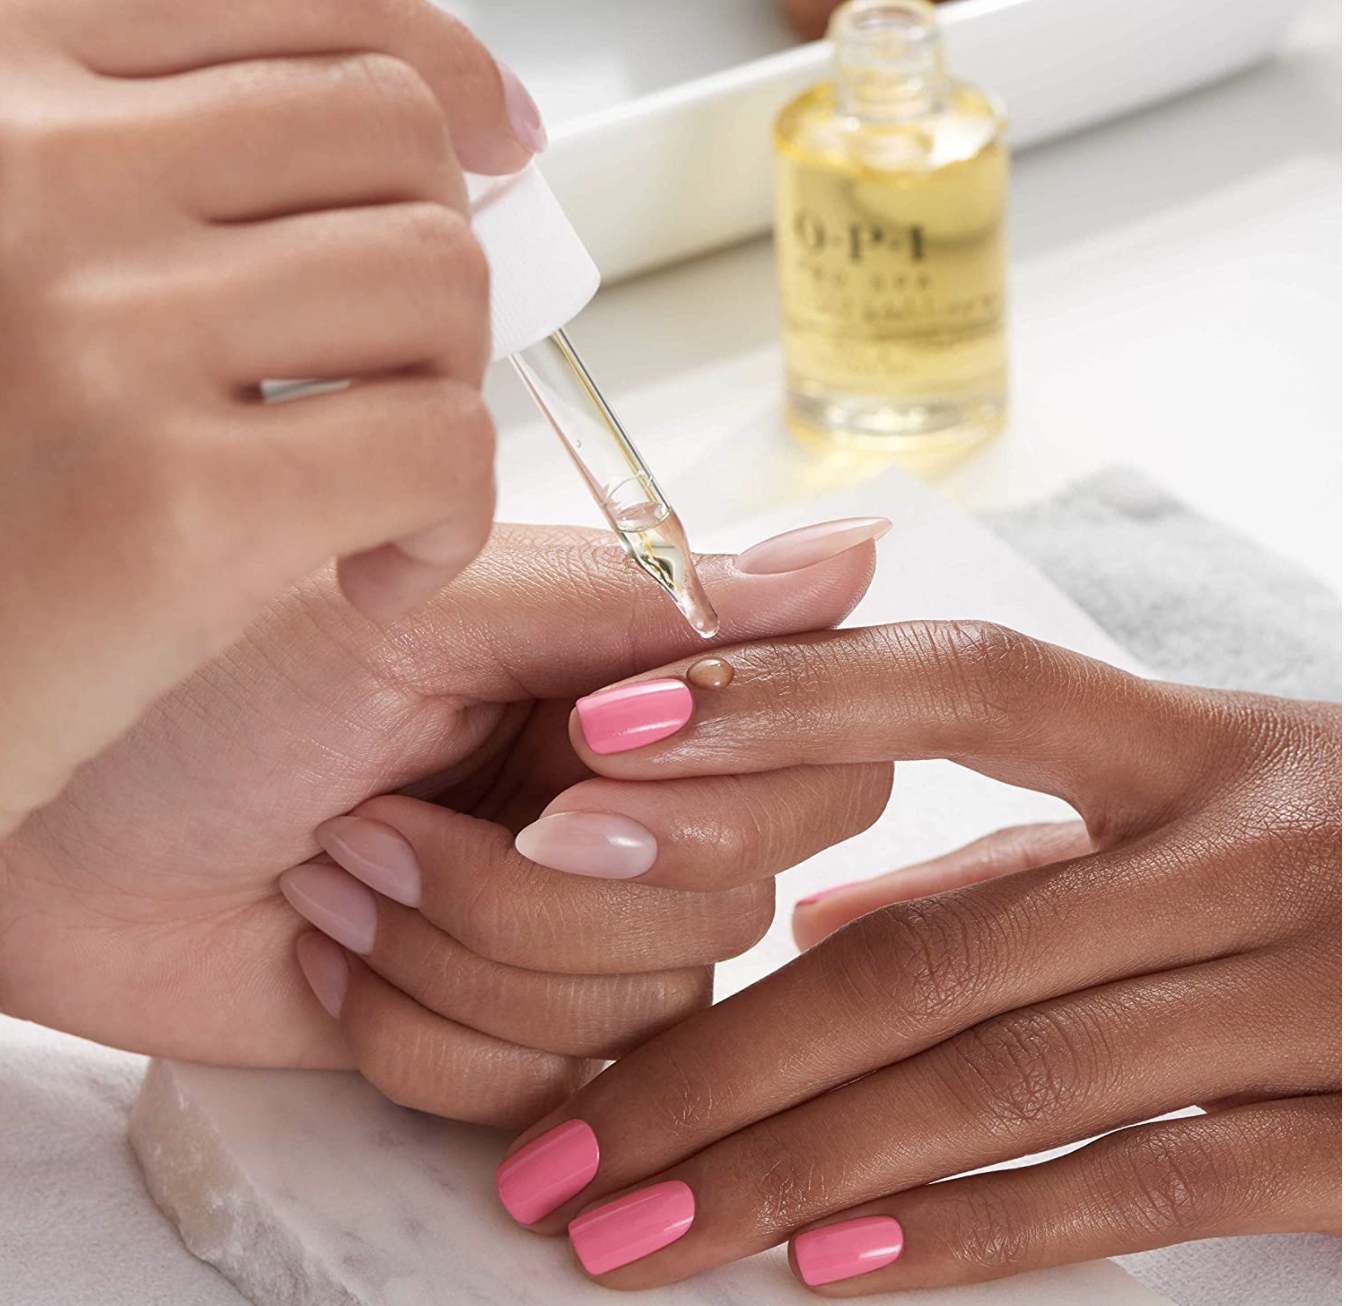
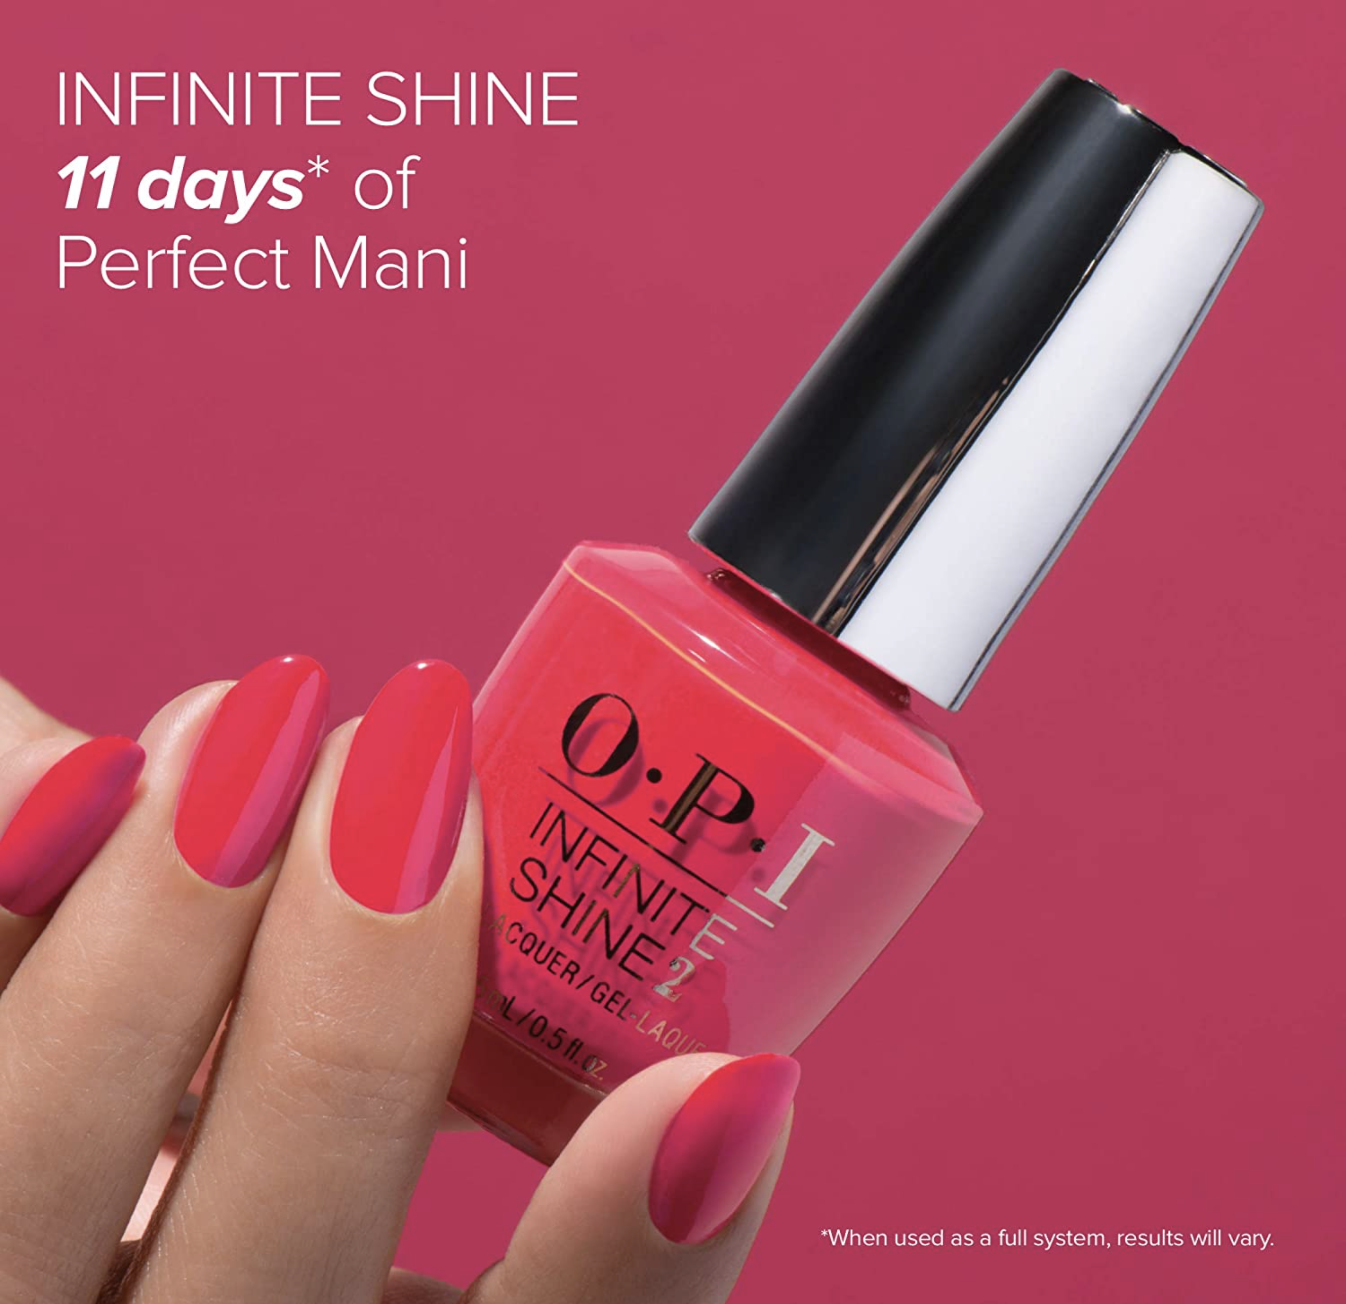
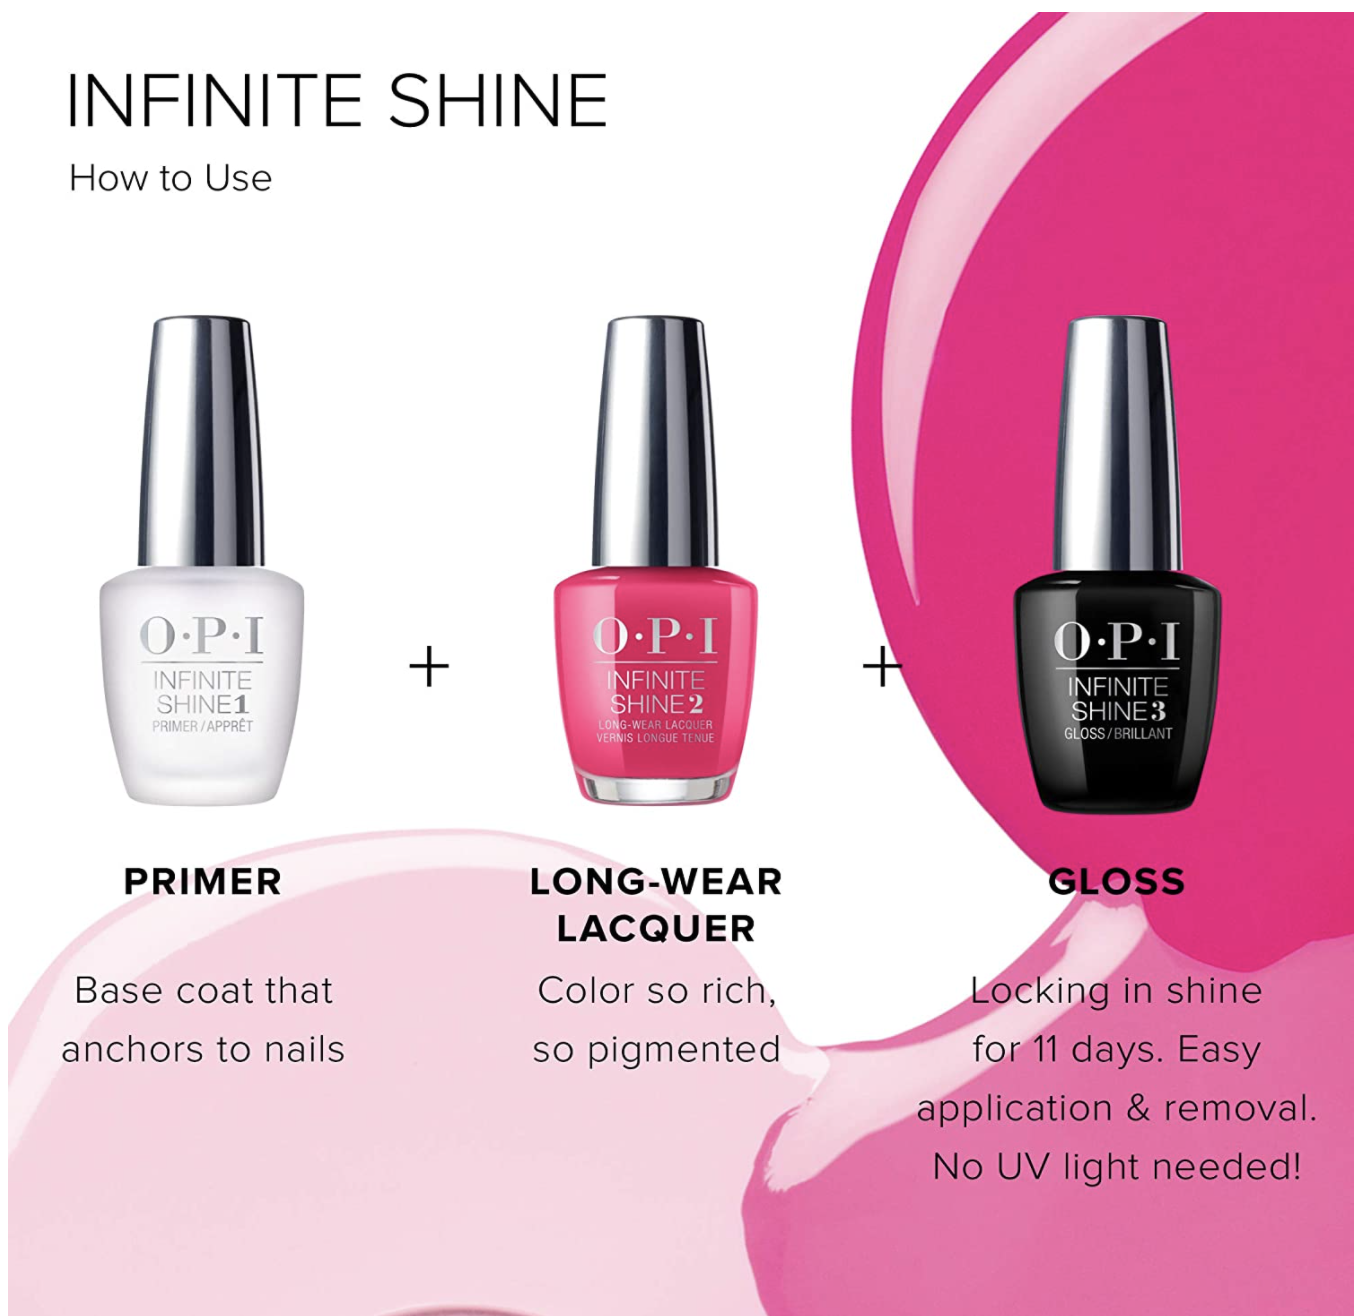
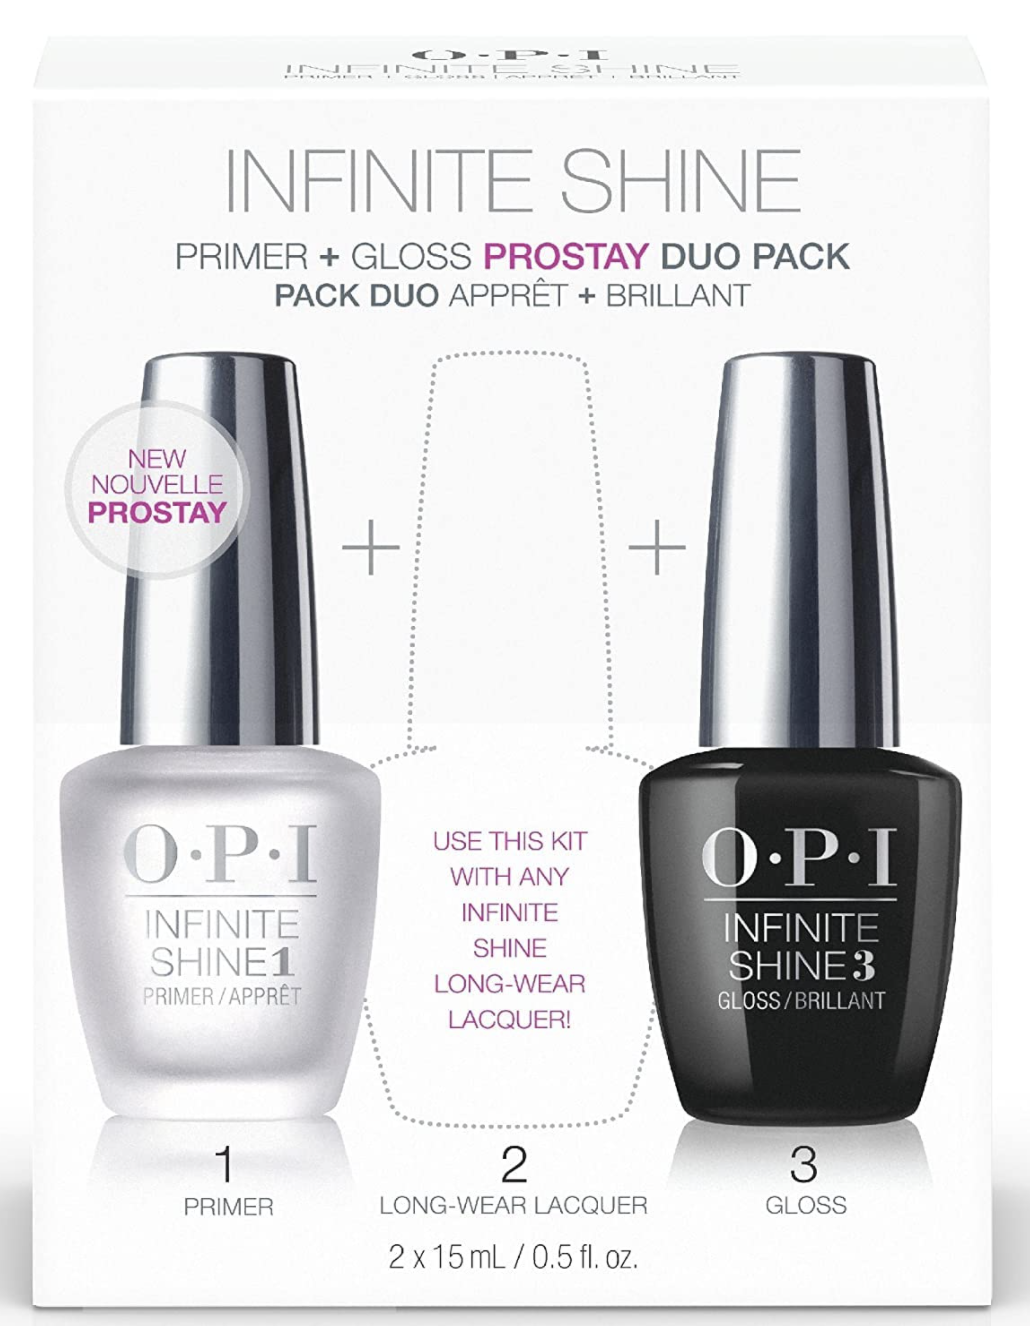
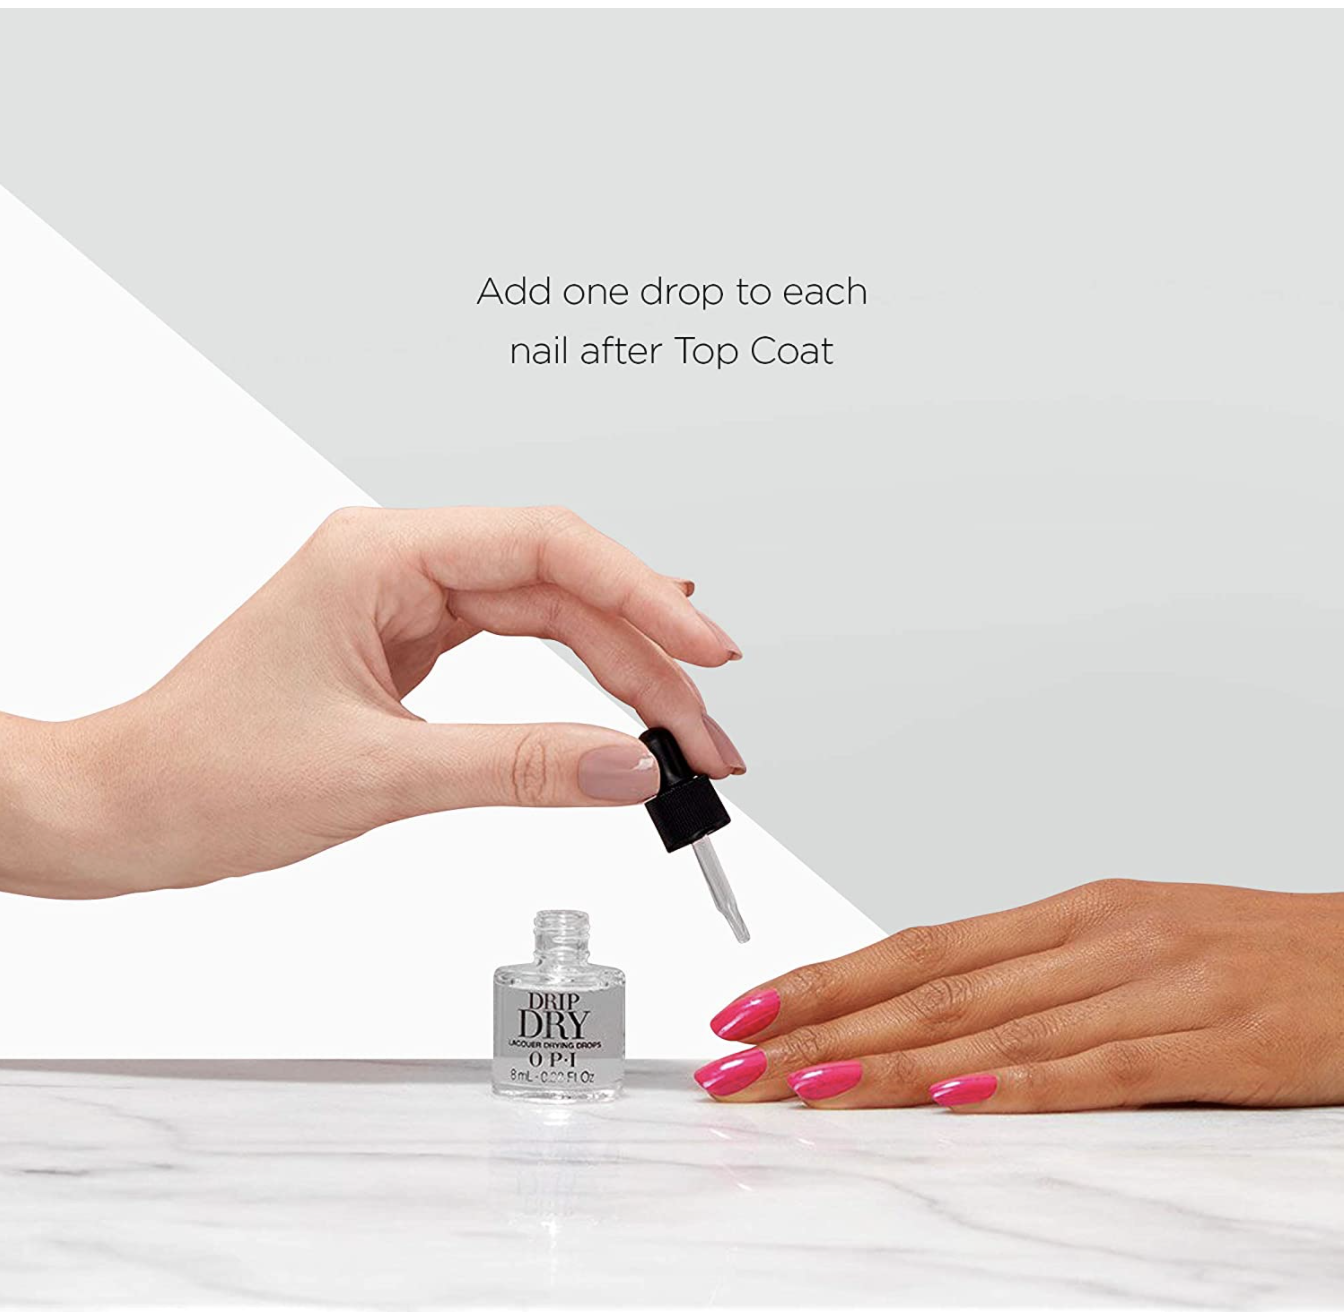
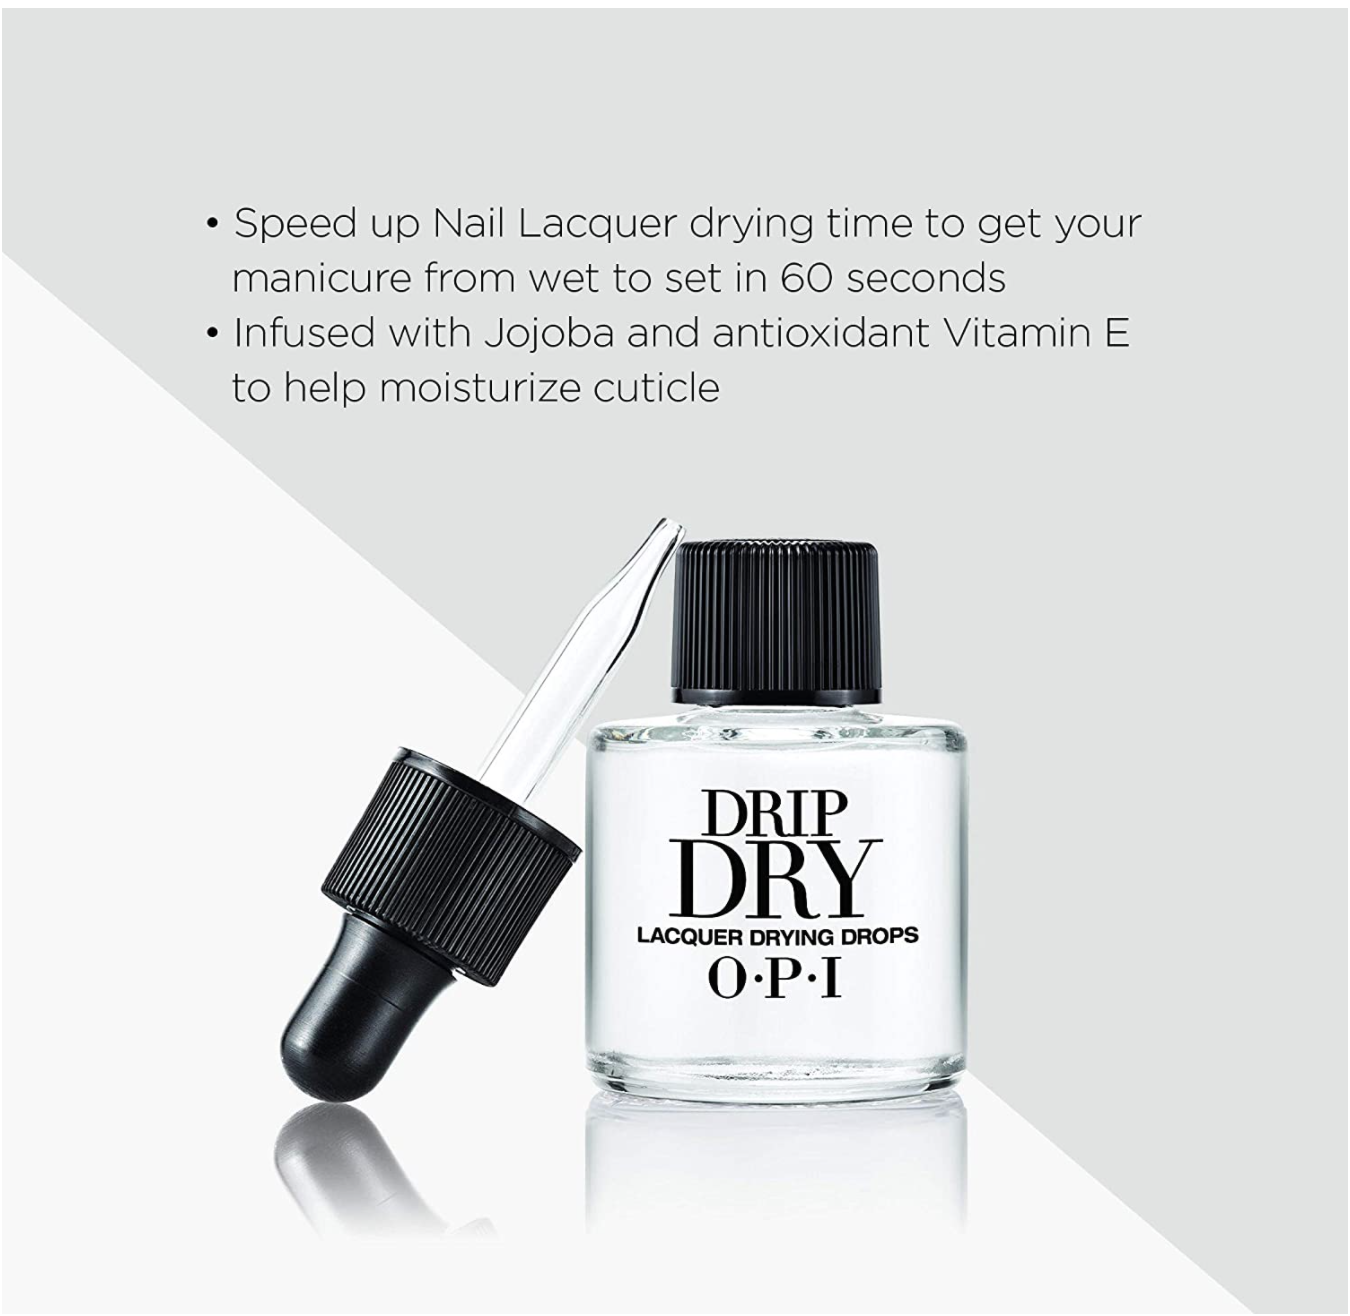
Select your desired nail polish. I personally love OPI. They’re easy to paint, don’t dry up, and have beautiful colors. I use the infinite shine OPI sets that are supposed to last for 11 days without chipping. My most used shade is red and black. I also love using their quick dry drops to secure my nails quickly!
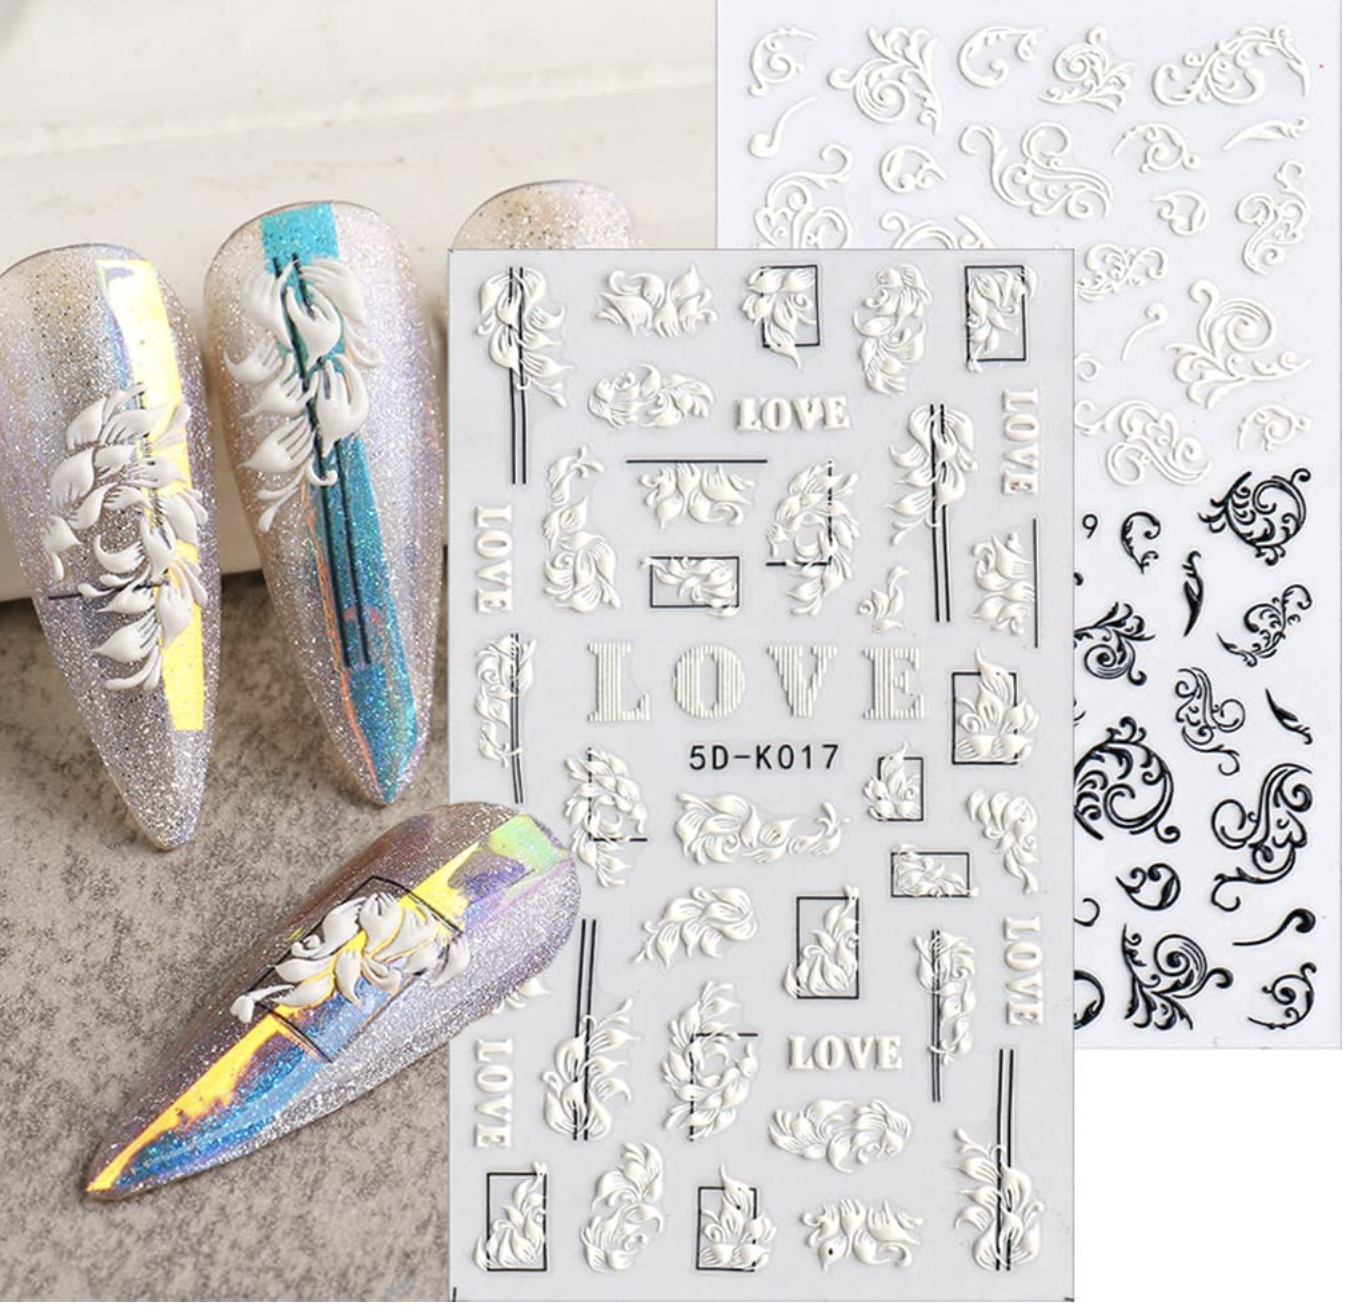
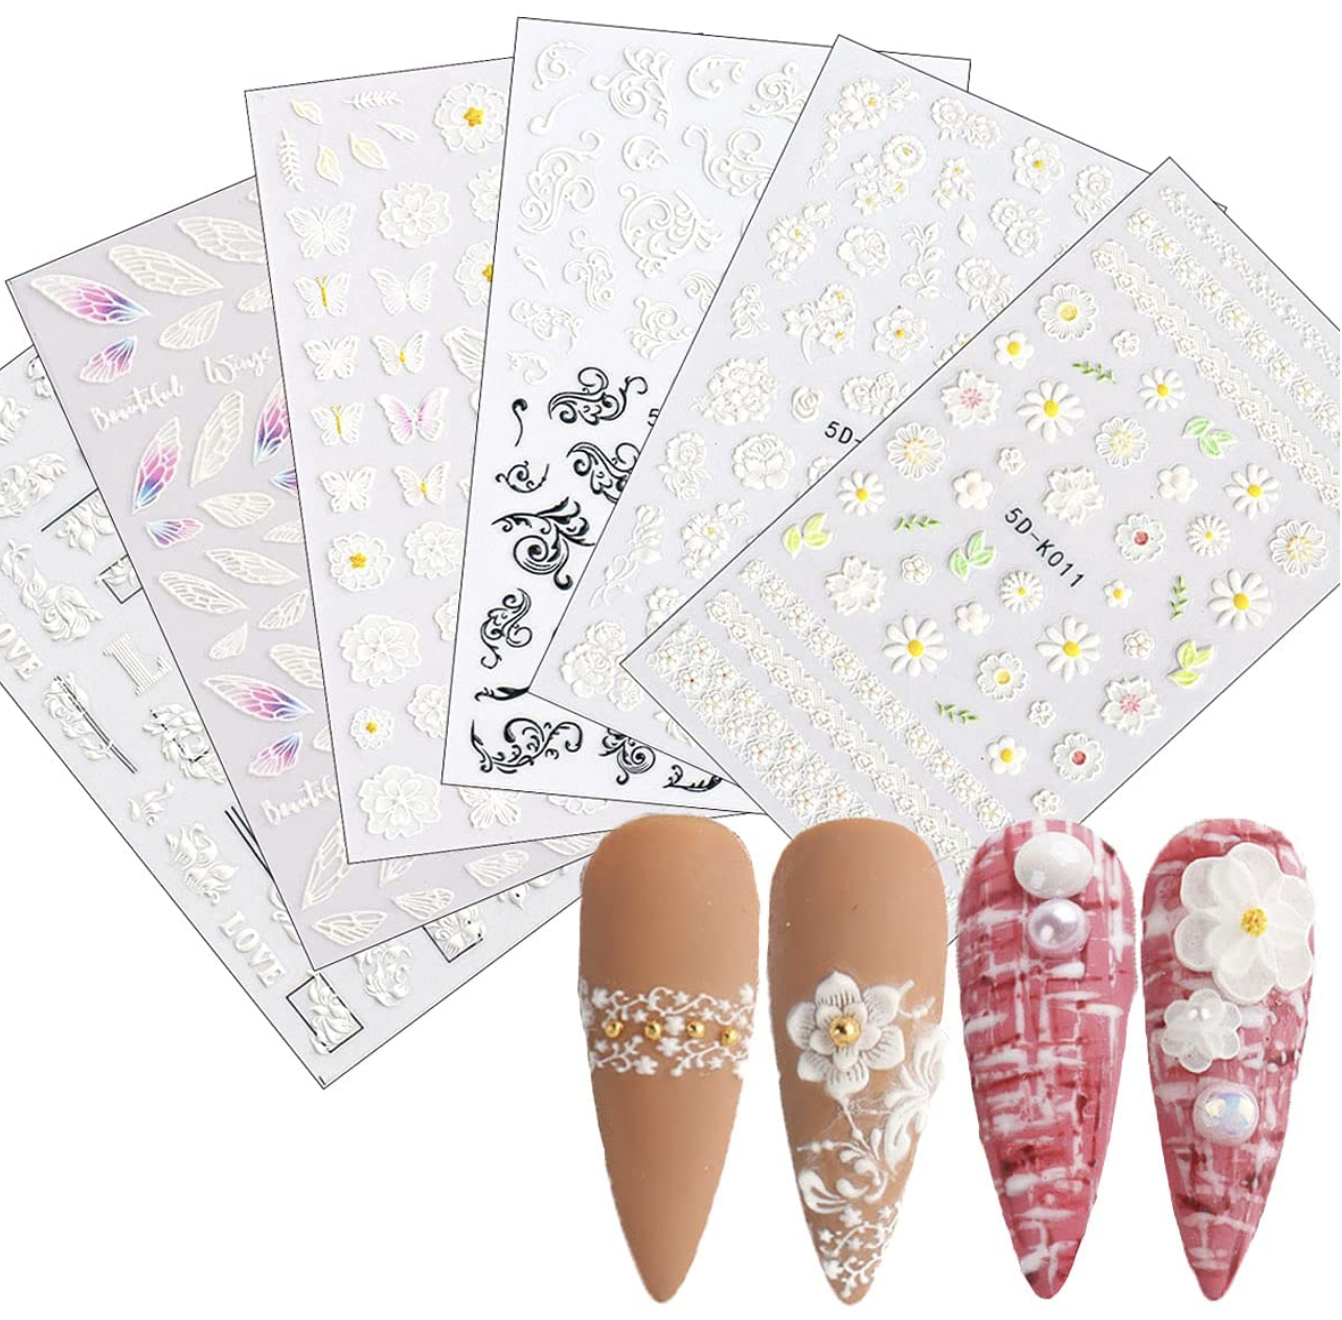
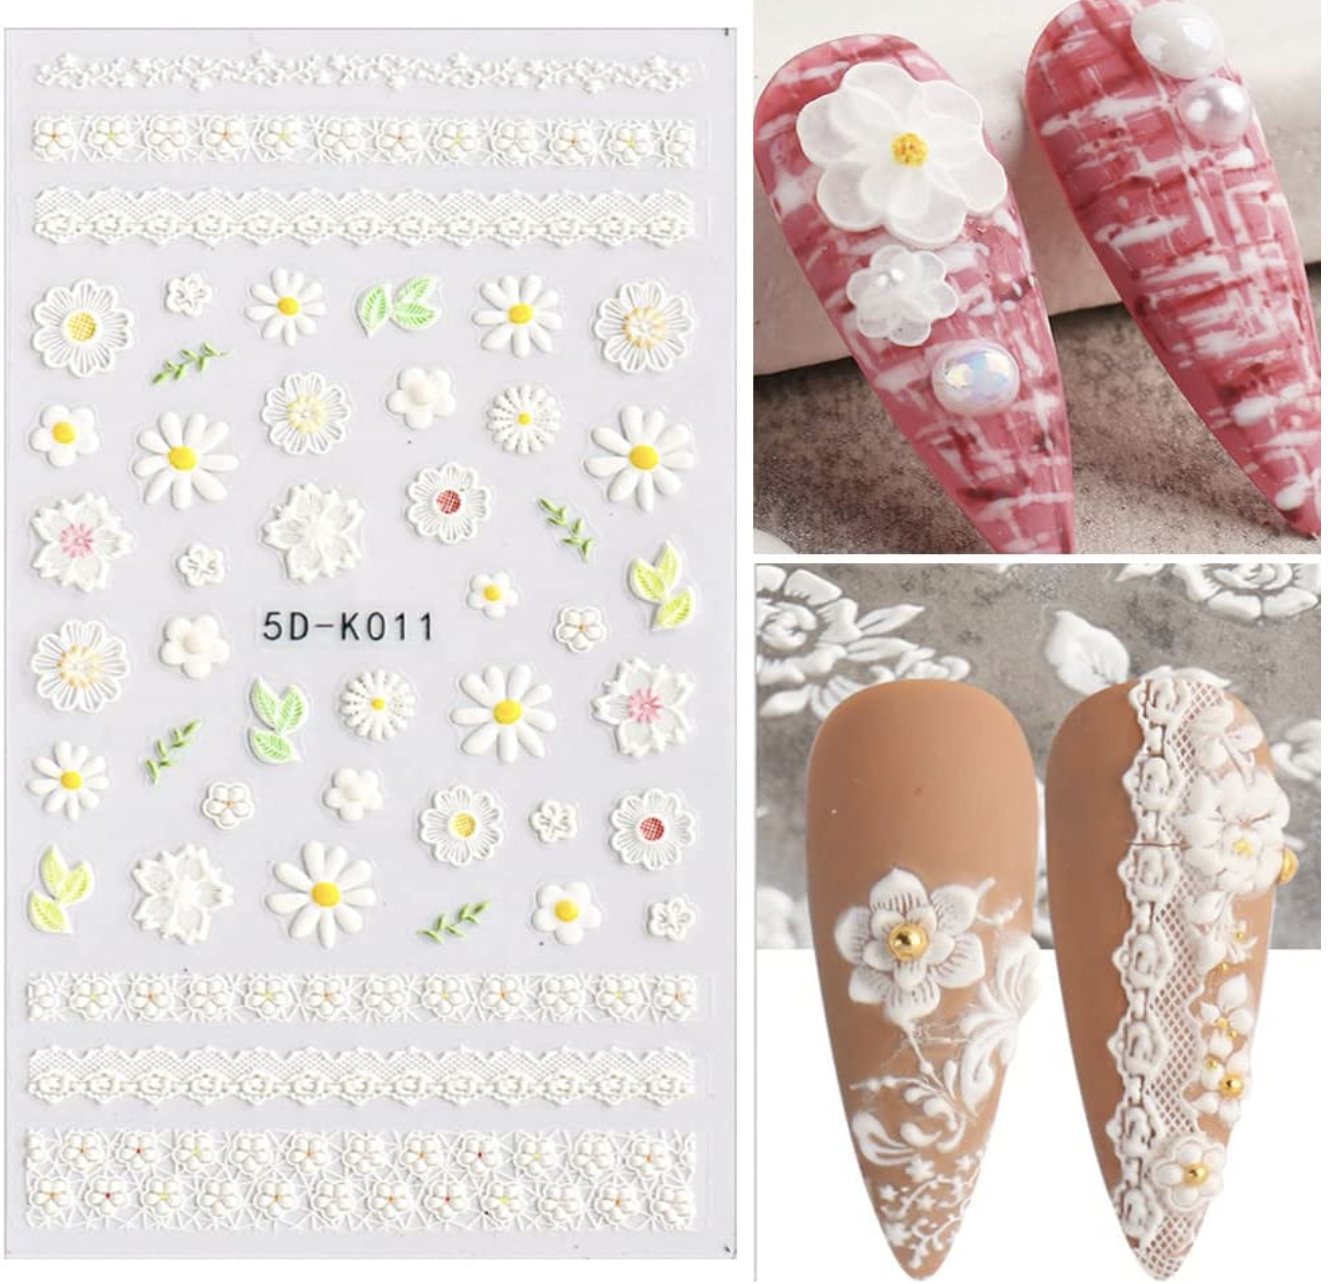
Next, apply nail stickers; these stickers transform your custom nail design without the need for any skills. Again, the nail stand tools will help you use stickers much easier with the help of both of your hands and at an easy-to-apply angle of your liking!
Strong Nails for Weeks!
Before applying the nail to your fingers, use the buffer to lightly buff your nails to create more texture for the glue to adhere more strongly to your nails. This step is optional if you prefer to have less impact on your nails. However, without it, the acrylic nails would detach more quickly.
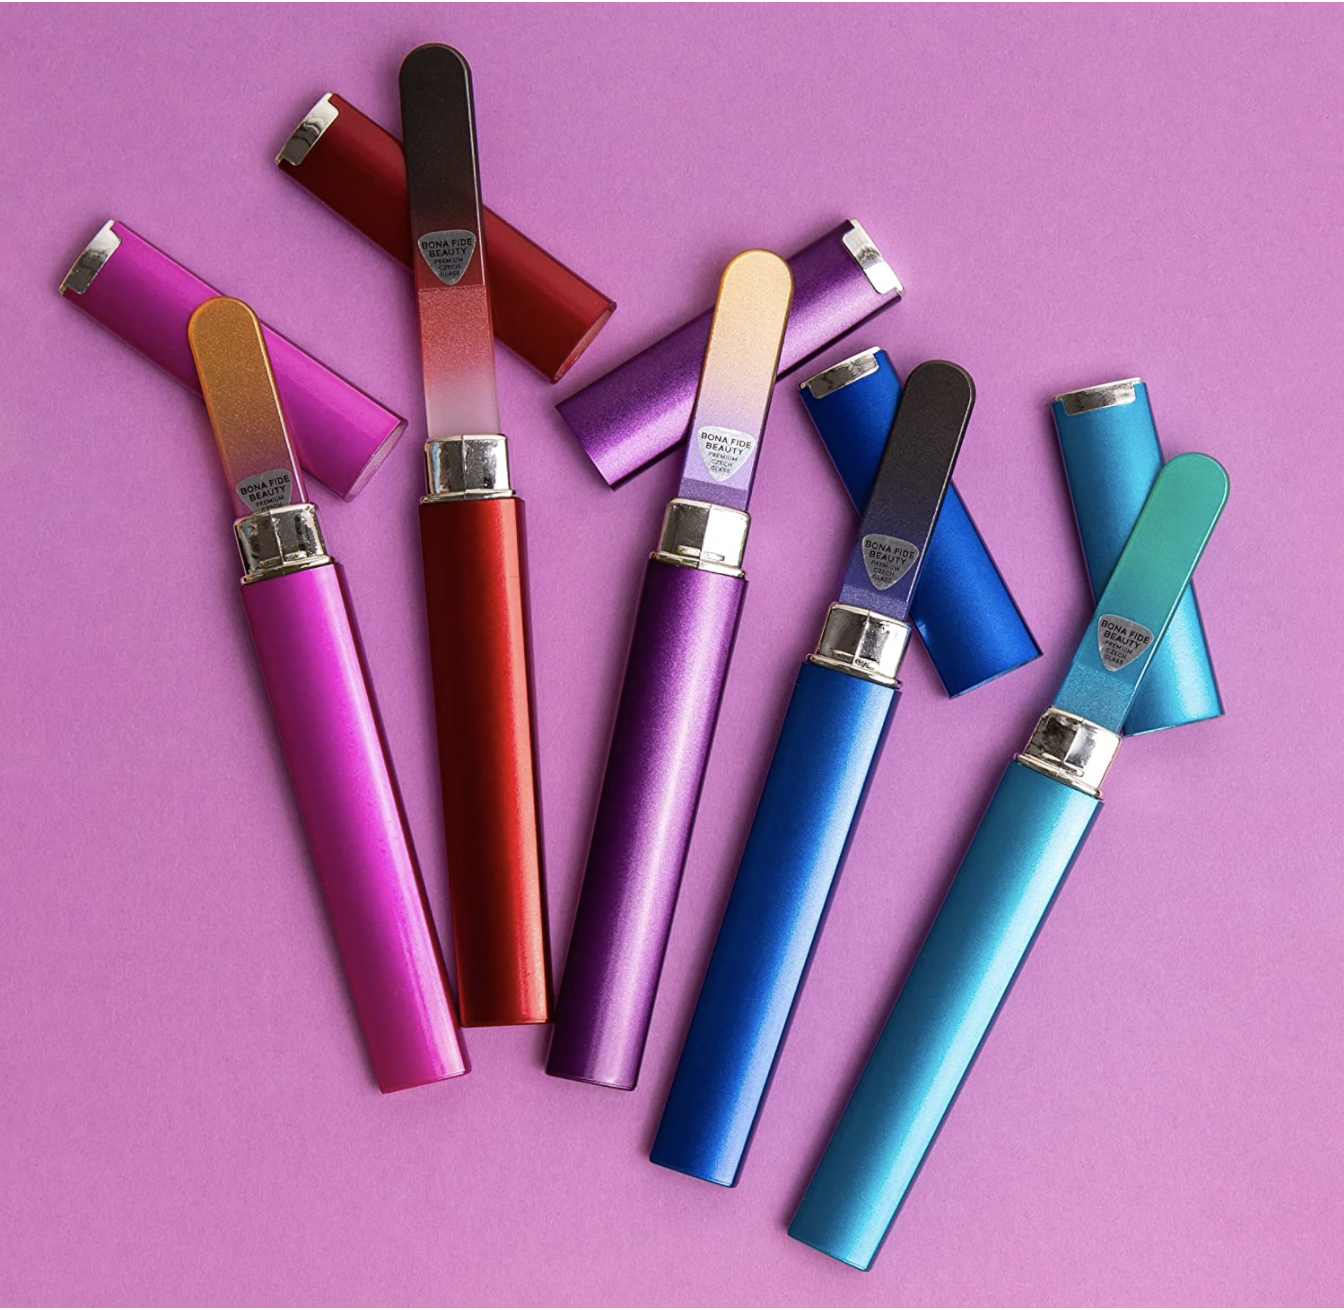
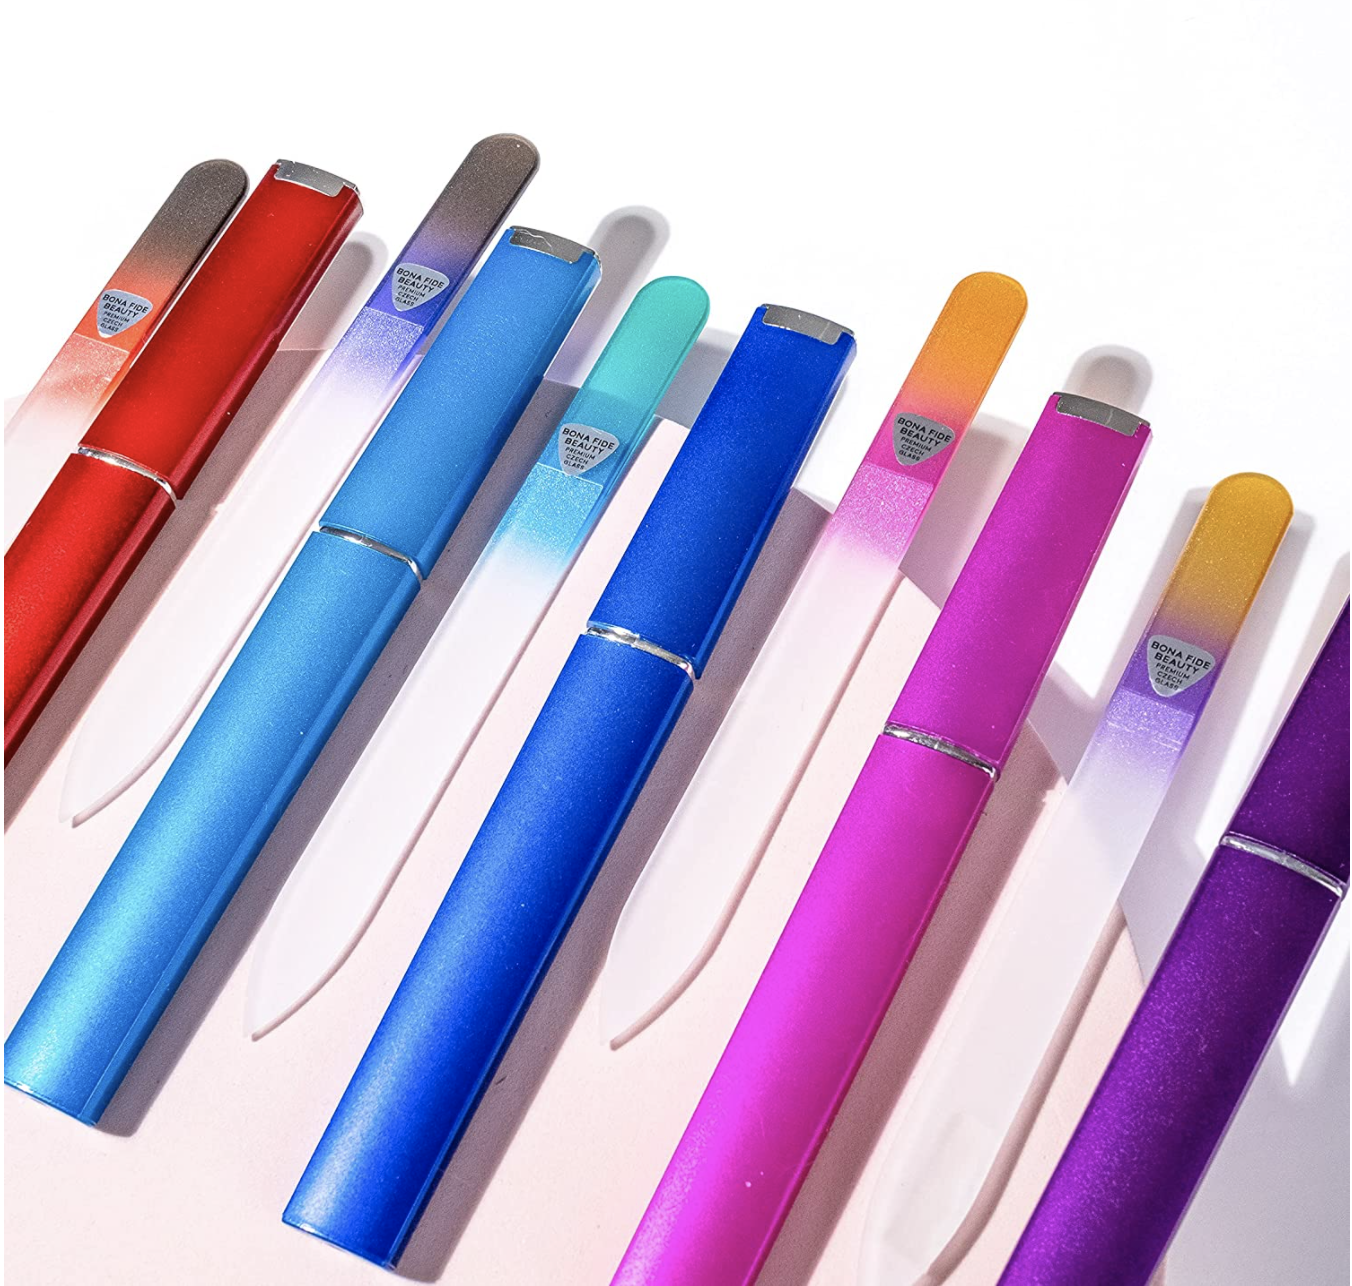
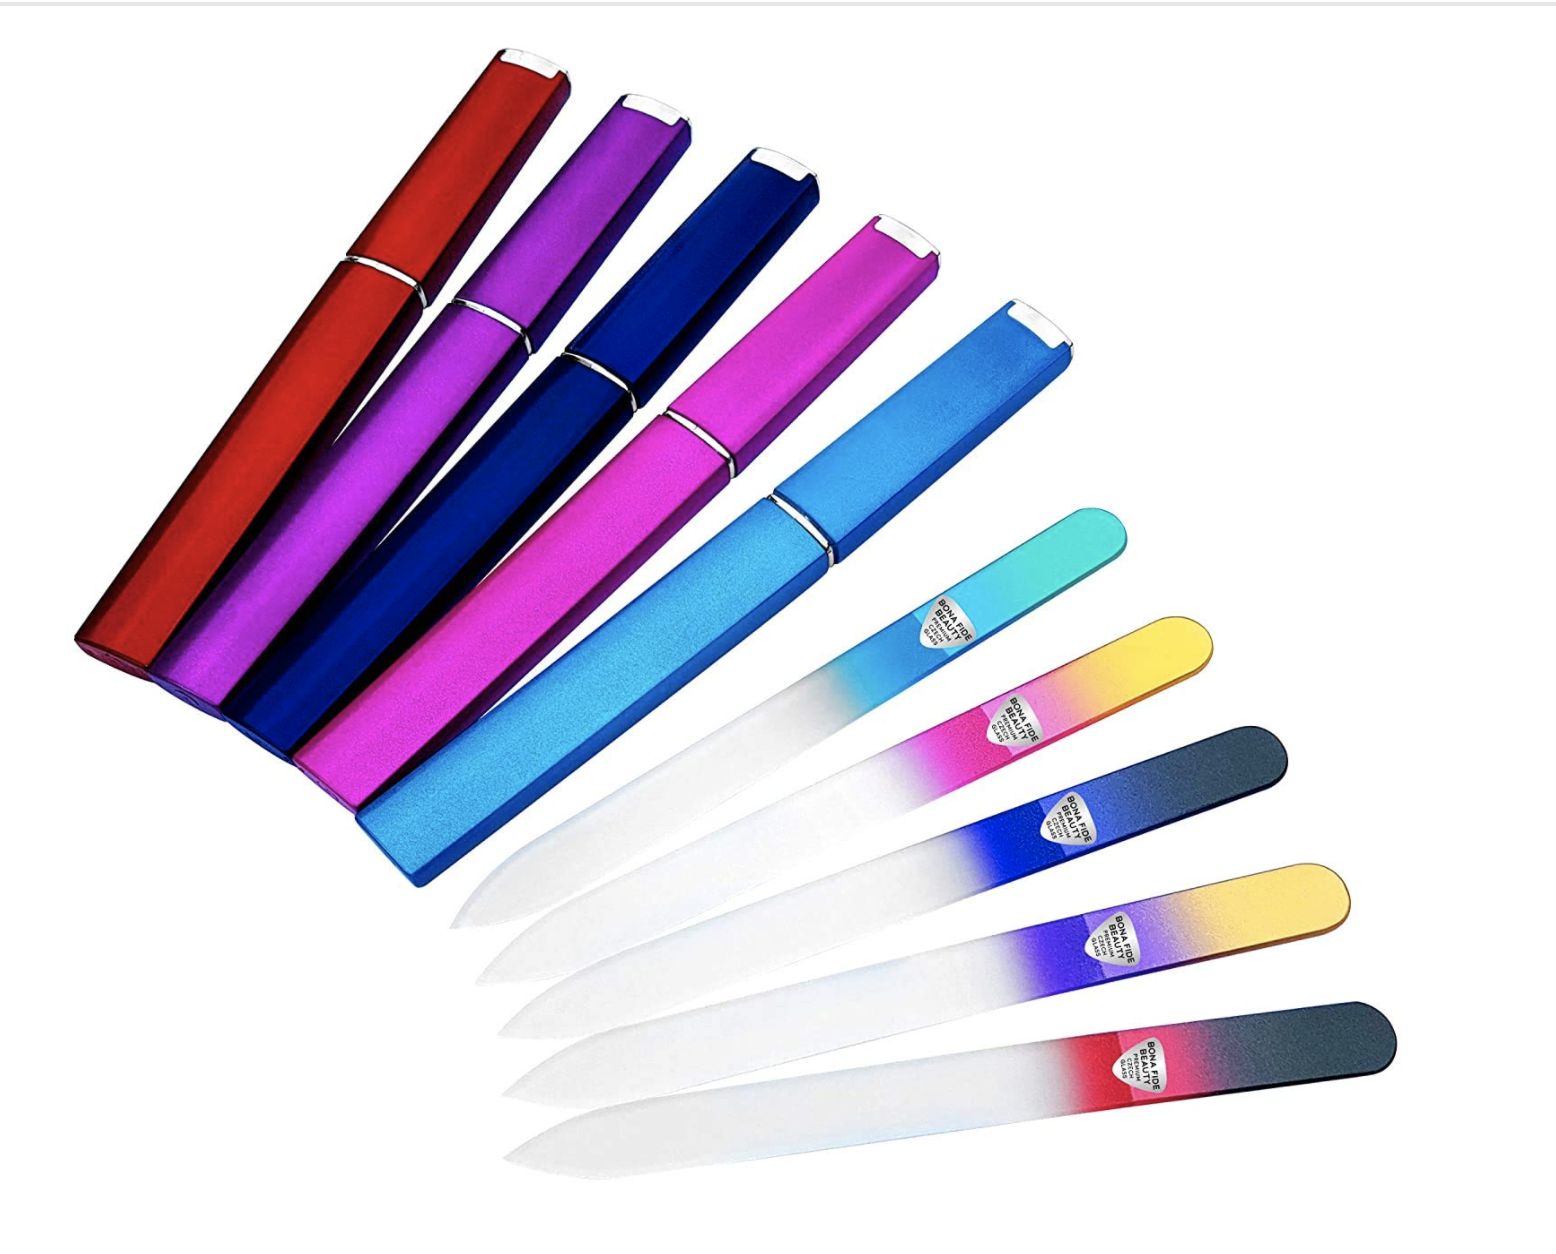
I do recommend this glass filer for regular filing of the nails or false nails because they’re more durable for long-term use, thus a more environmental-friendly option.
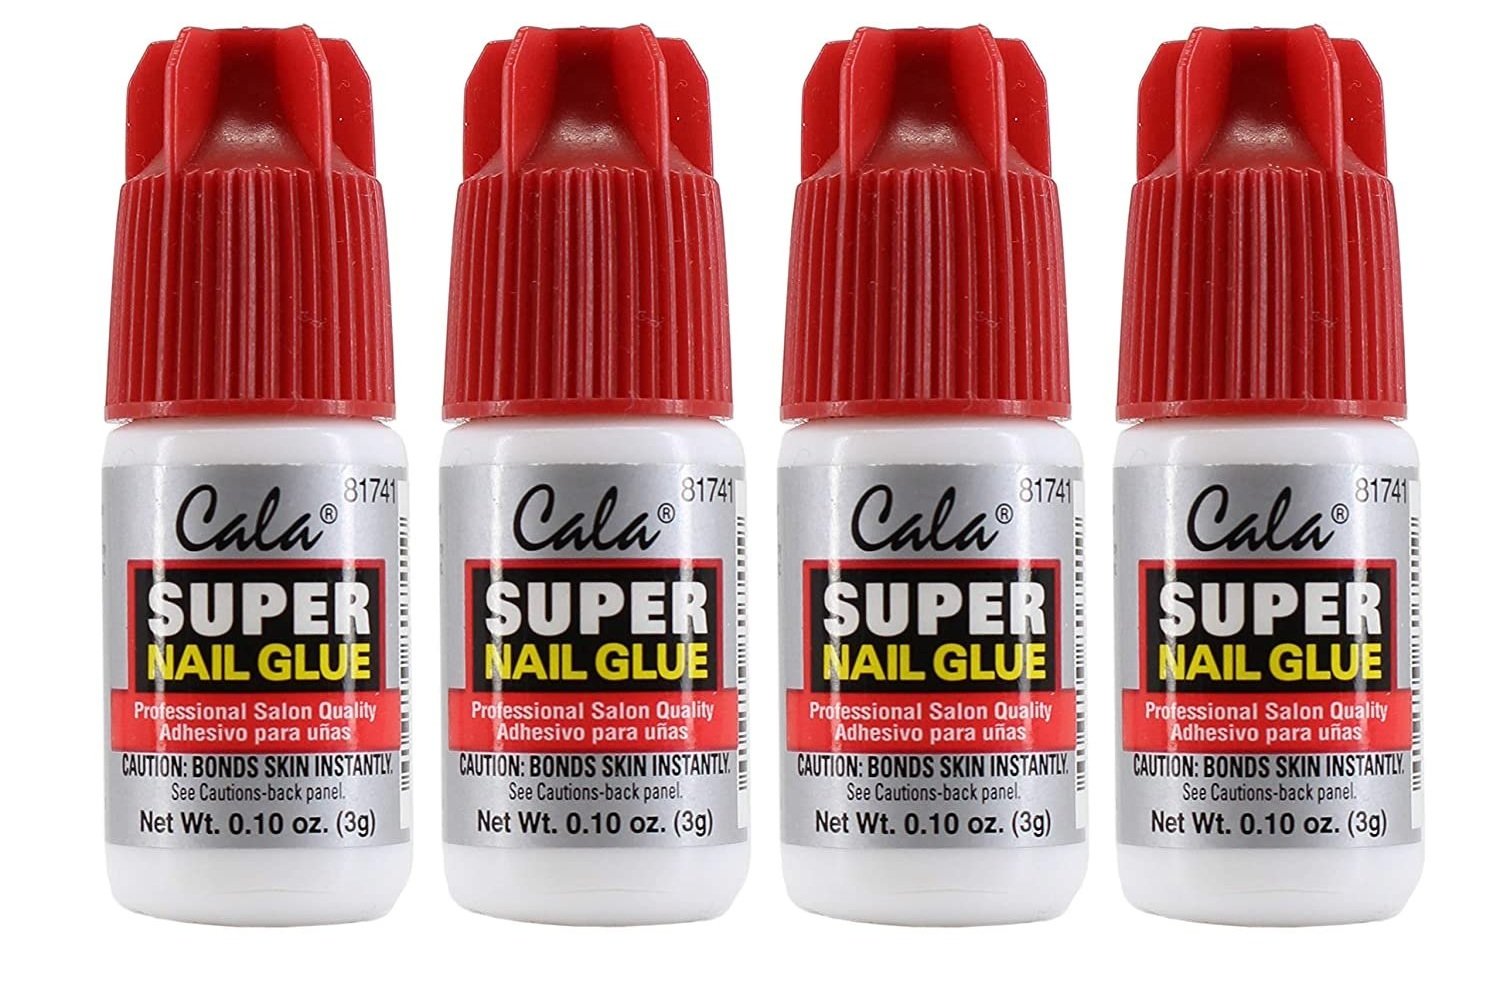
Apply the glue to your finger then apply the acrylic nail on top, press it down for about 10 seconds, and you’re done! This glue that I chose is excellent at keeping my acrylic nails attached for 2 weeks!
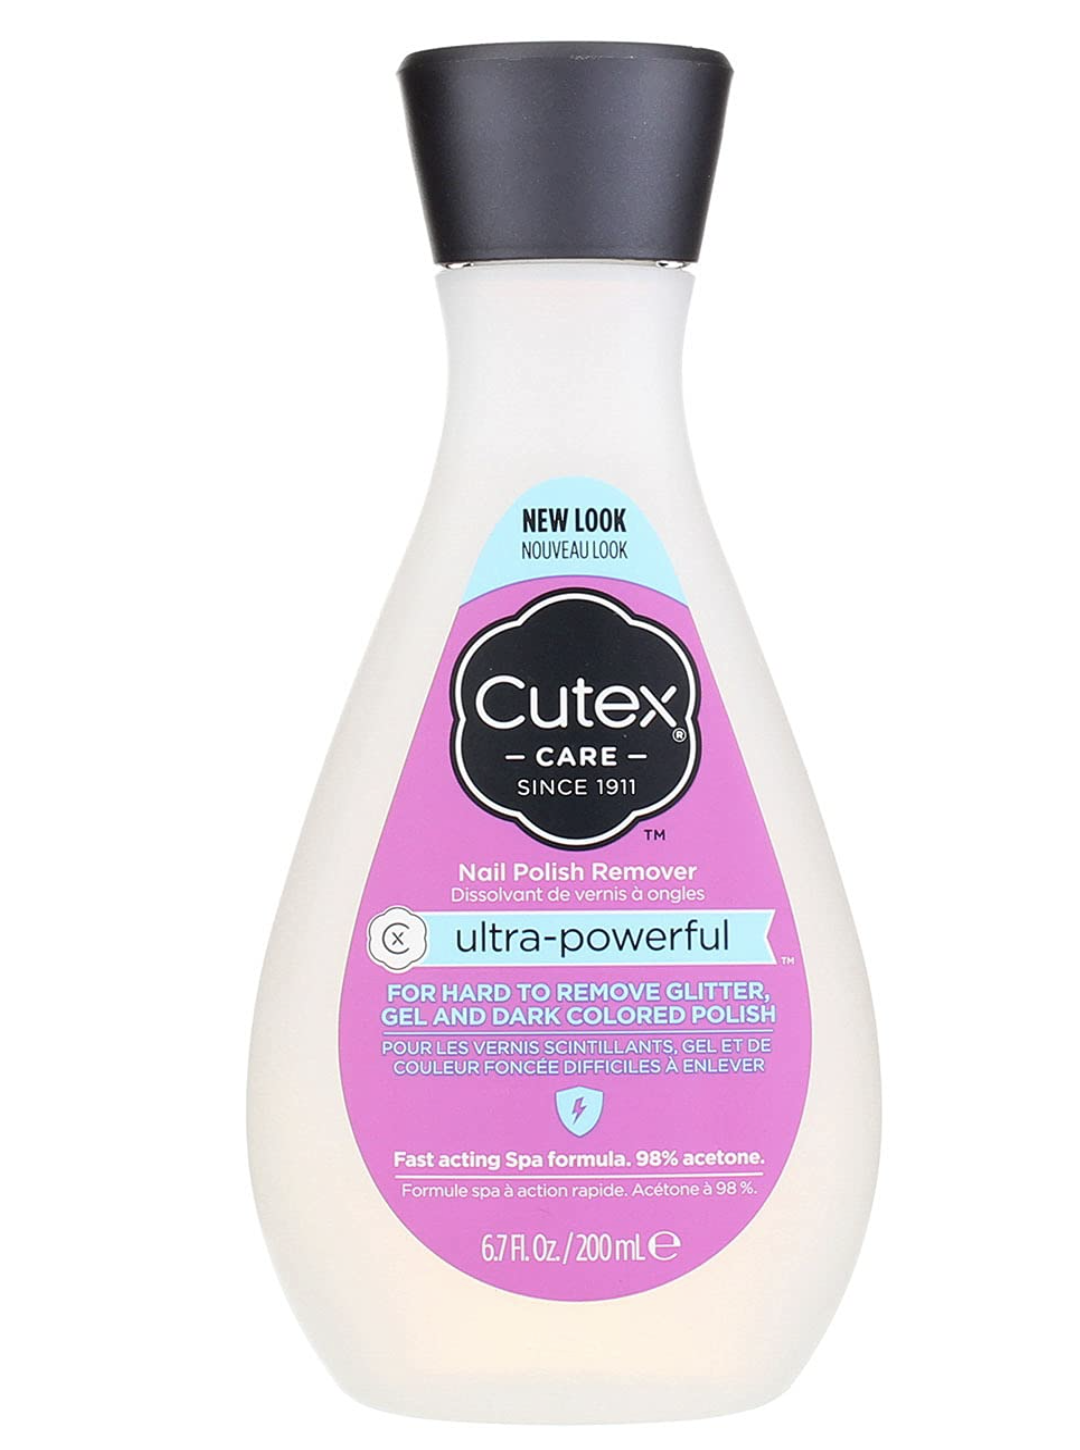
Keep Your Nails Healthy
When you’re ready to remove the nails, soak your fingers in warm water for about 10 minutes. Then soak your finger with nail polish remover with a cotton pad. I find this remover removes pretty well.
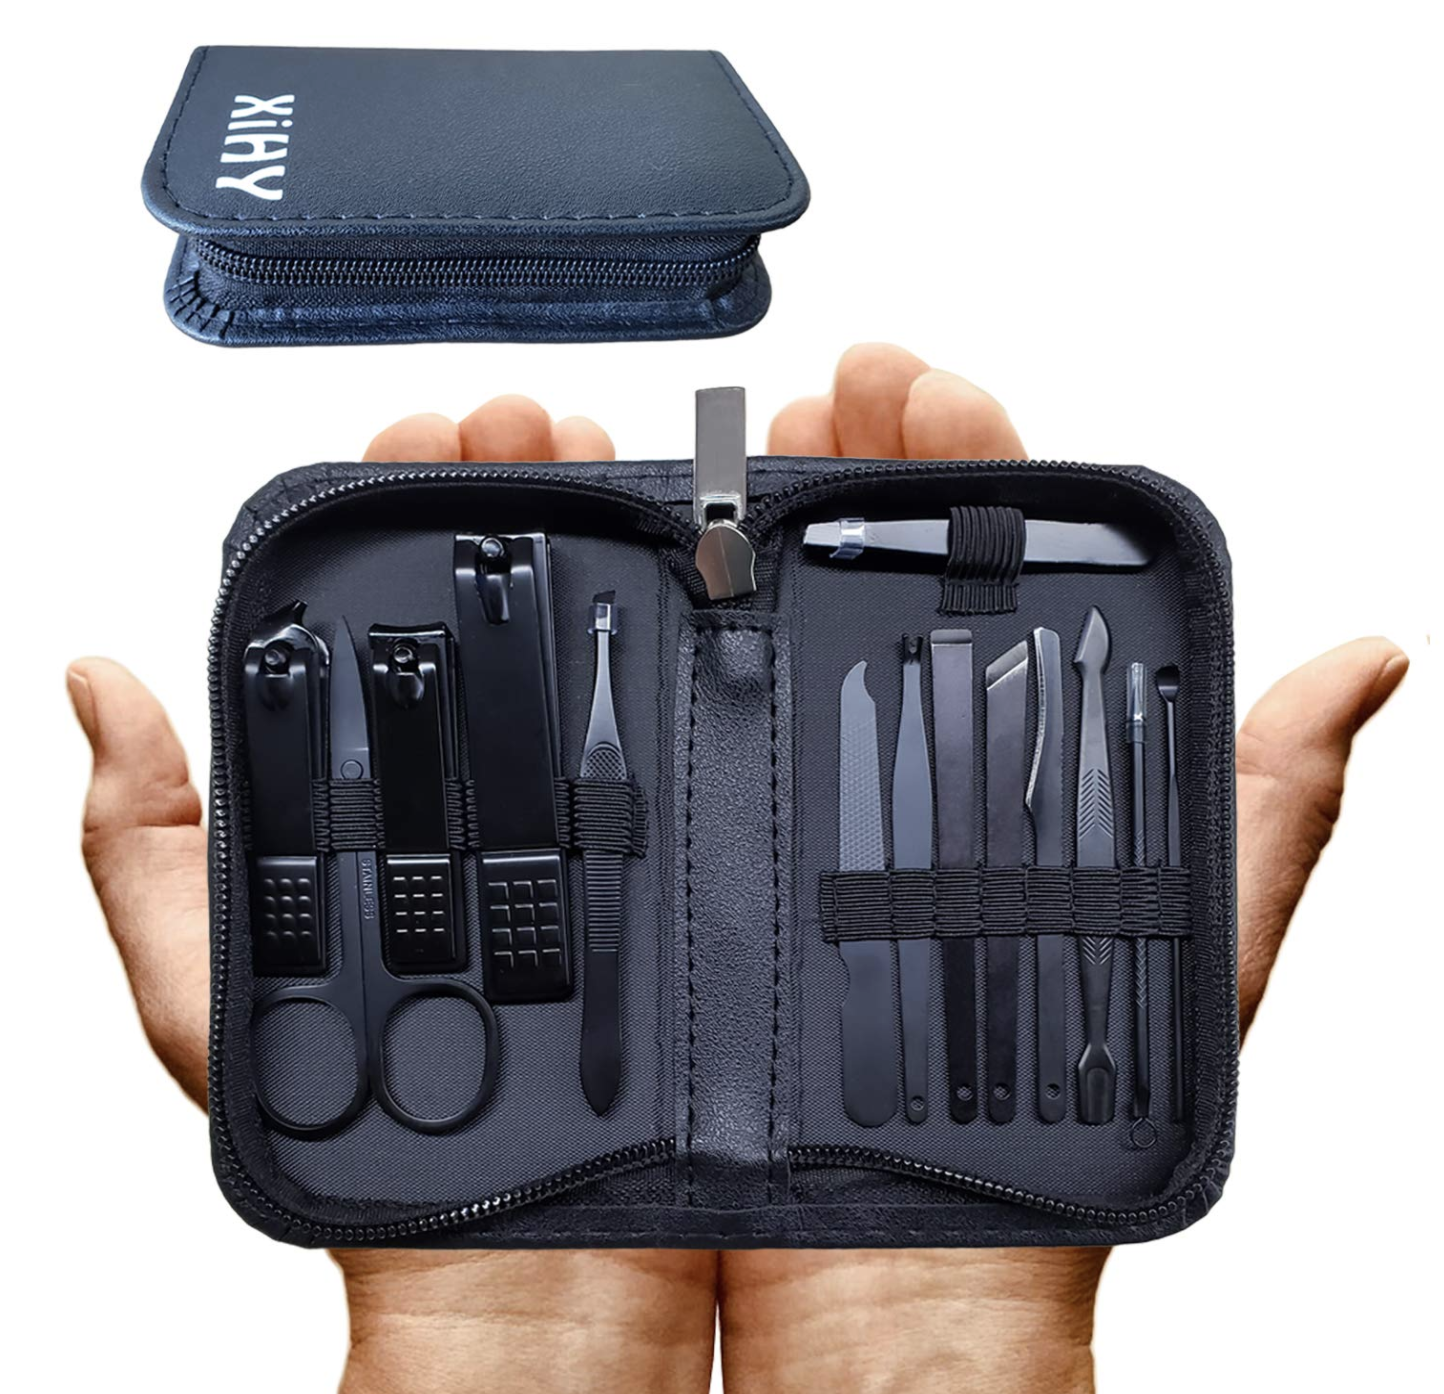
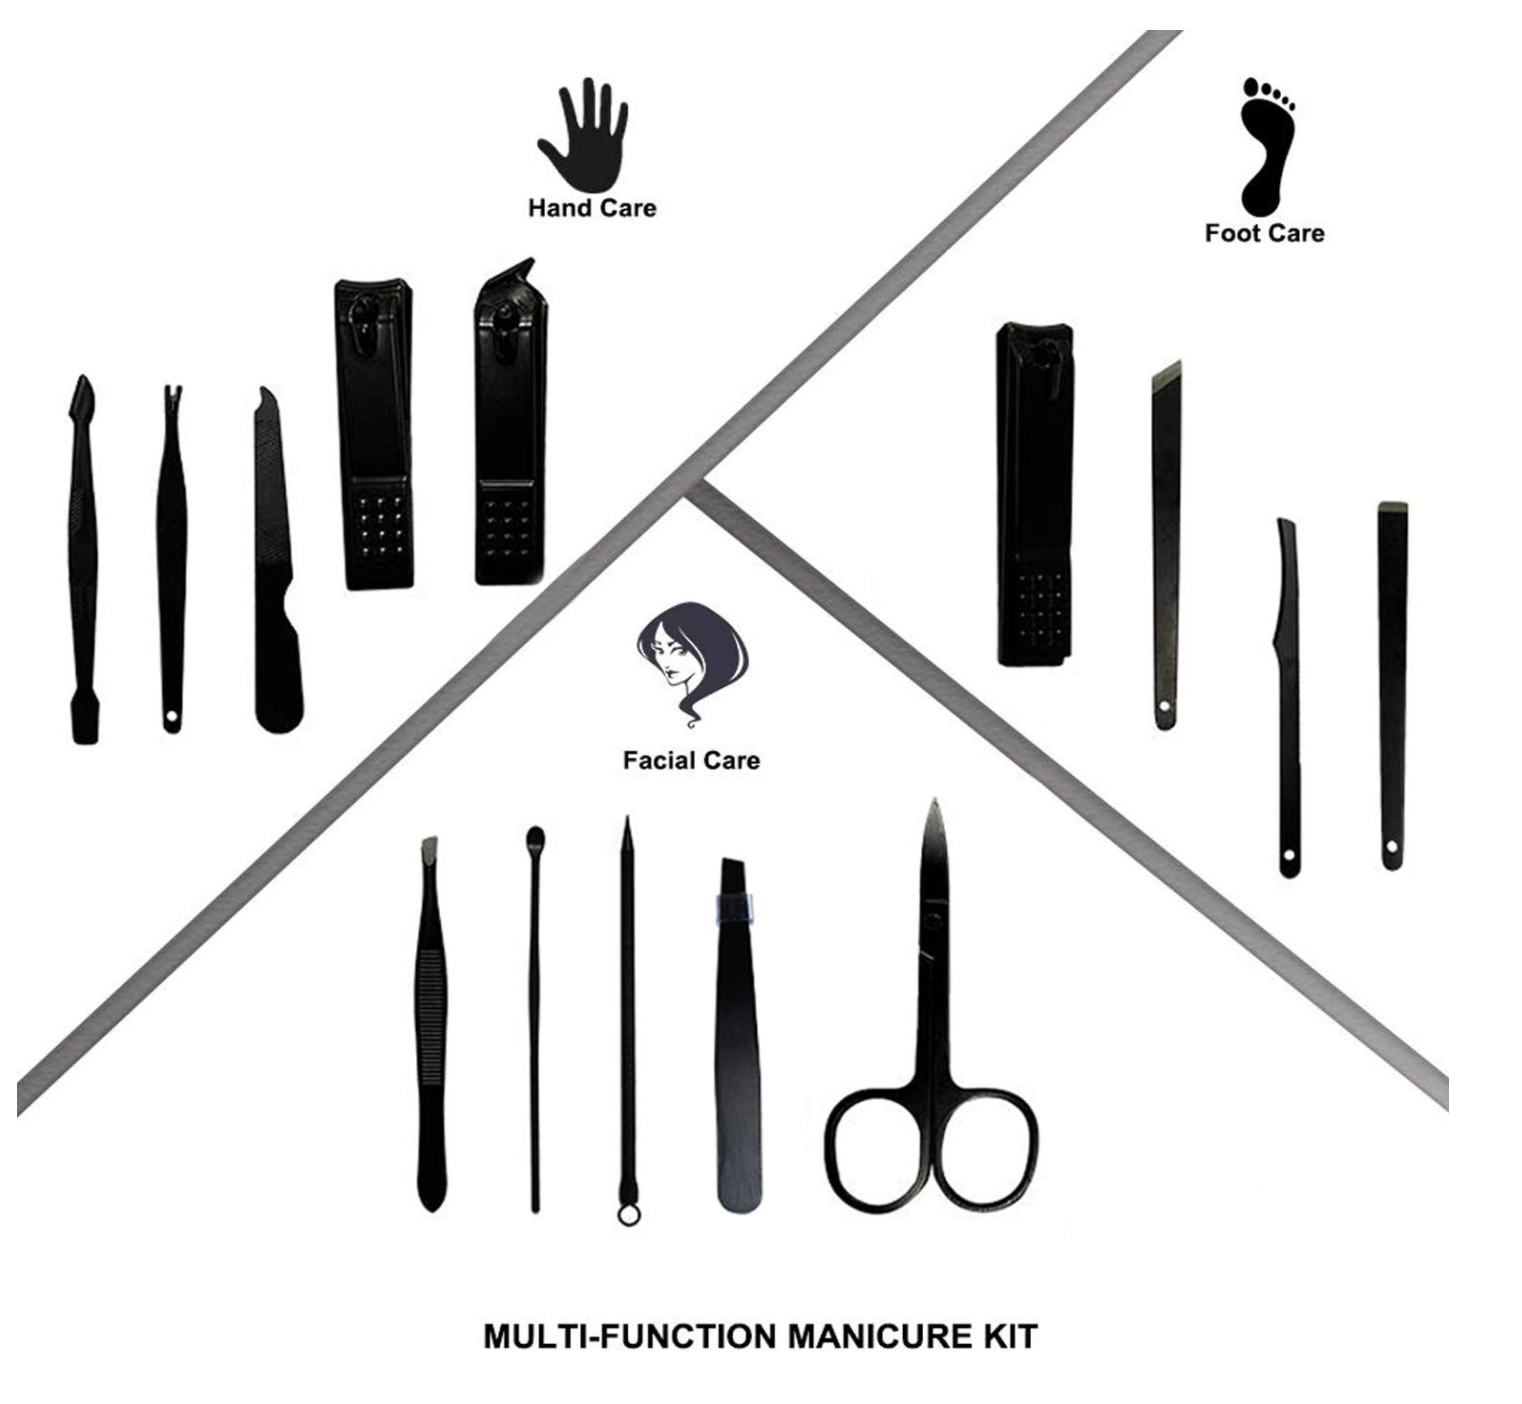
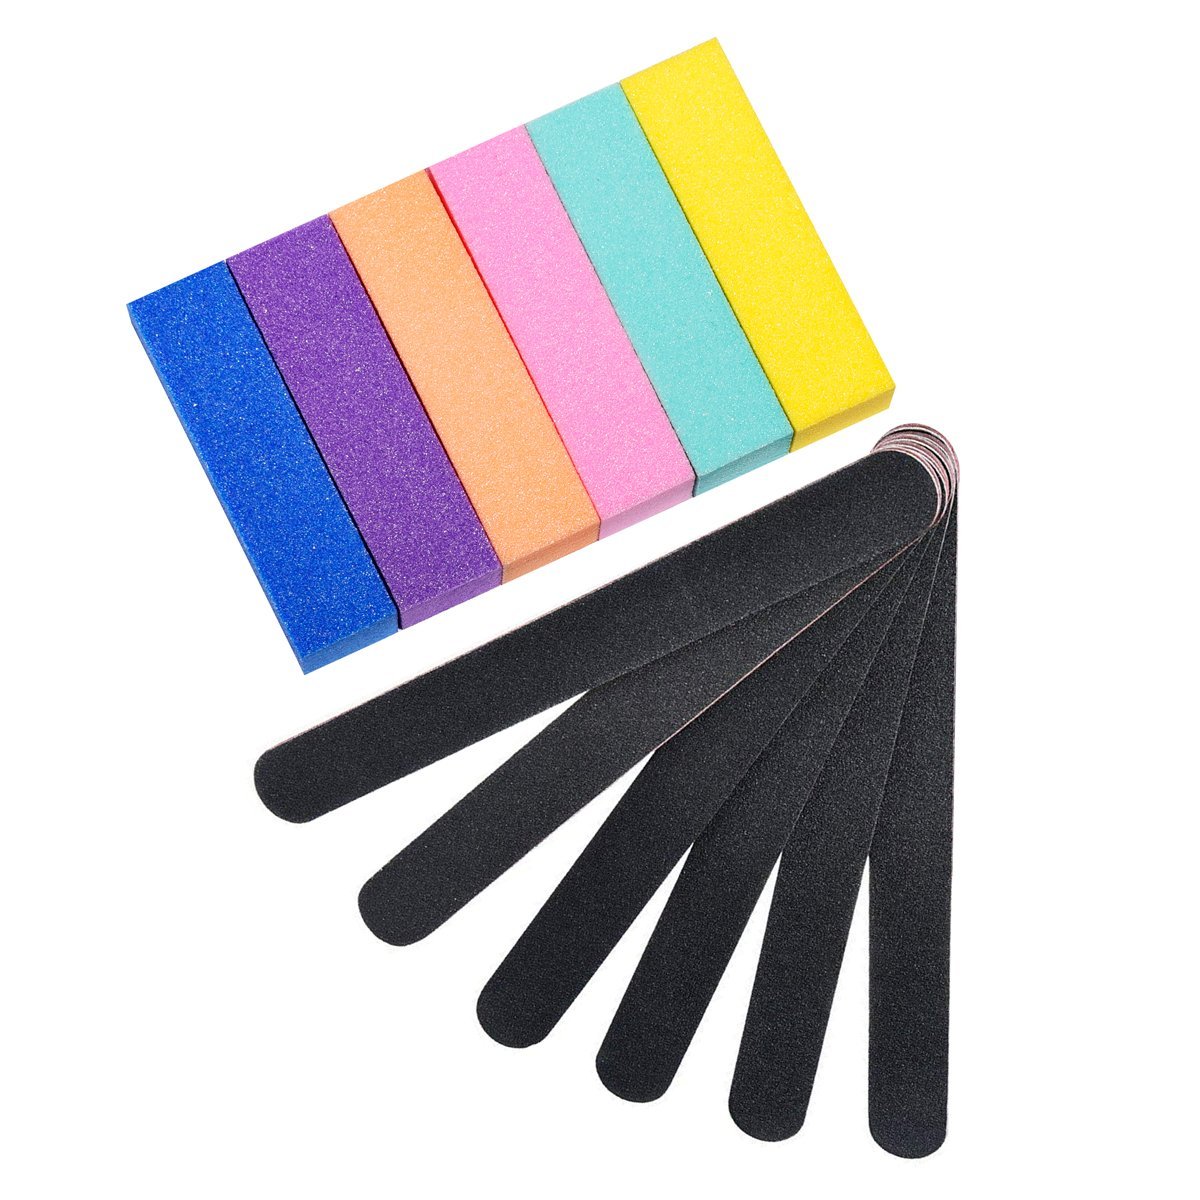
Keep your nails healthy by filing them when all fake nails are removed. Filing nails is like trimming your hair split ends to make sure nails don’t break. Have a manicure set to keep all your nails healthy.
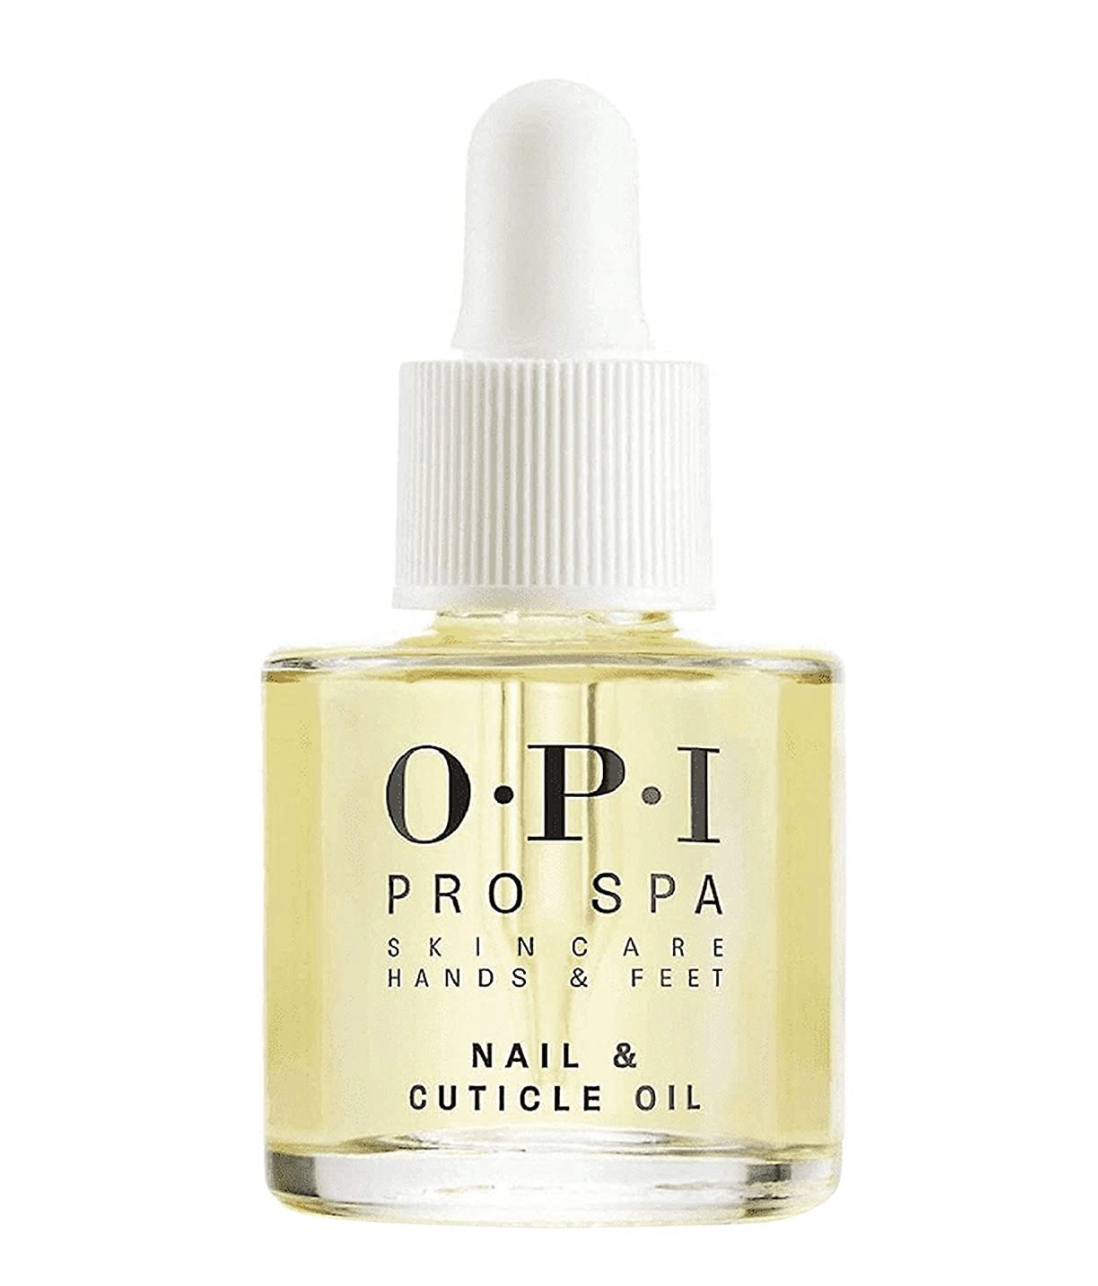
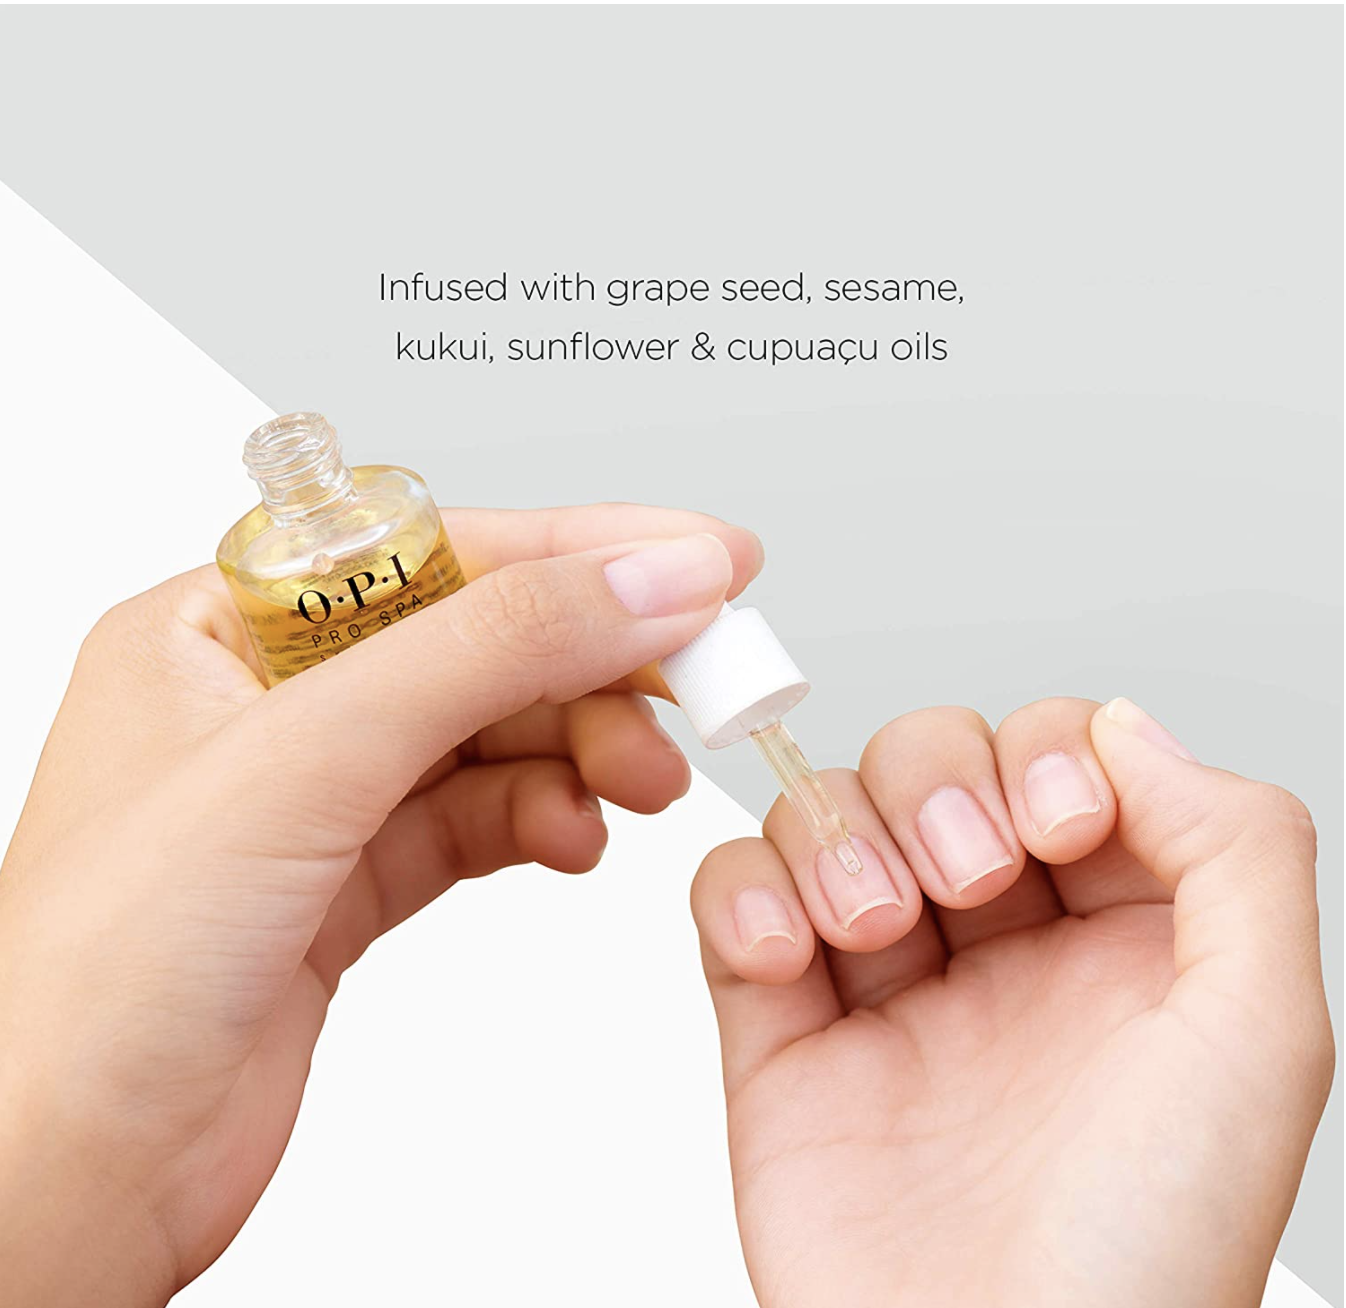
Add some nail oils to strengthen your nails. If you like, give your nails 2 days to rest and breathe before another set of fake nails.
With this system, you can make endless nail art possibilities at a fraction of the price at the salon and with no nail technical skills! Does this help? Are you ready to ditch the salon prices for your new nails?